
1Raw model0.6 min
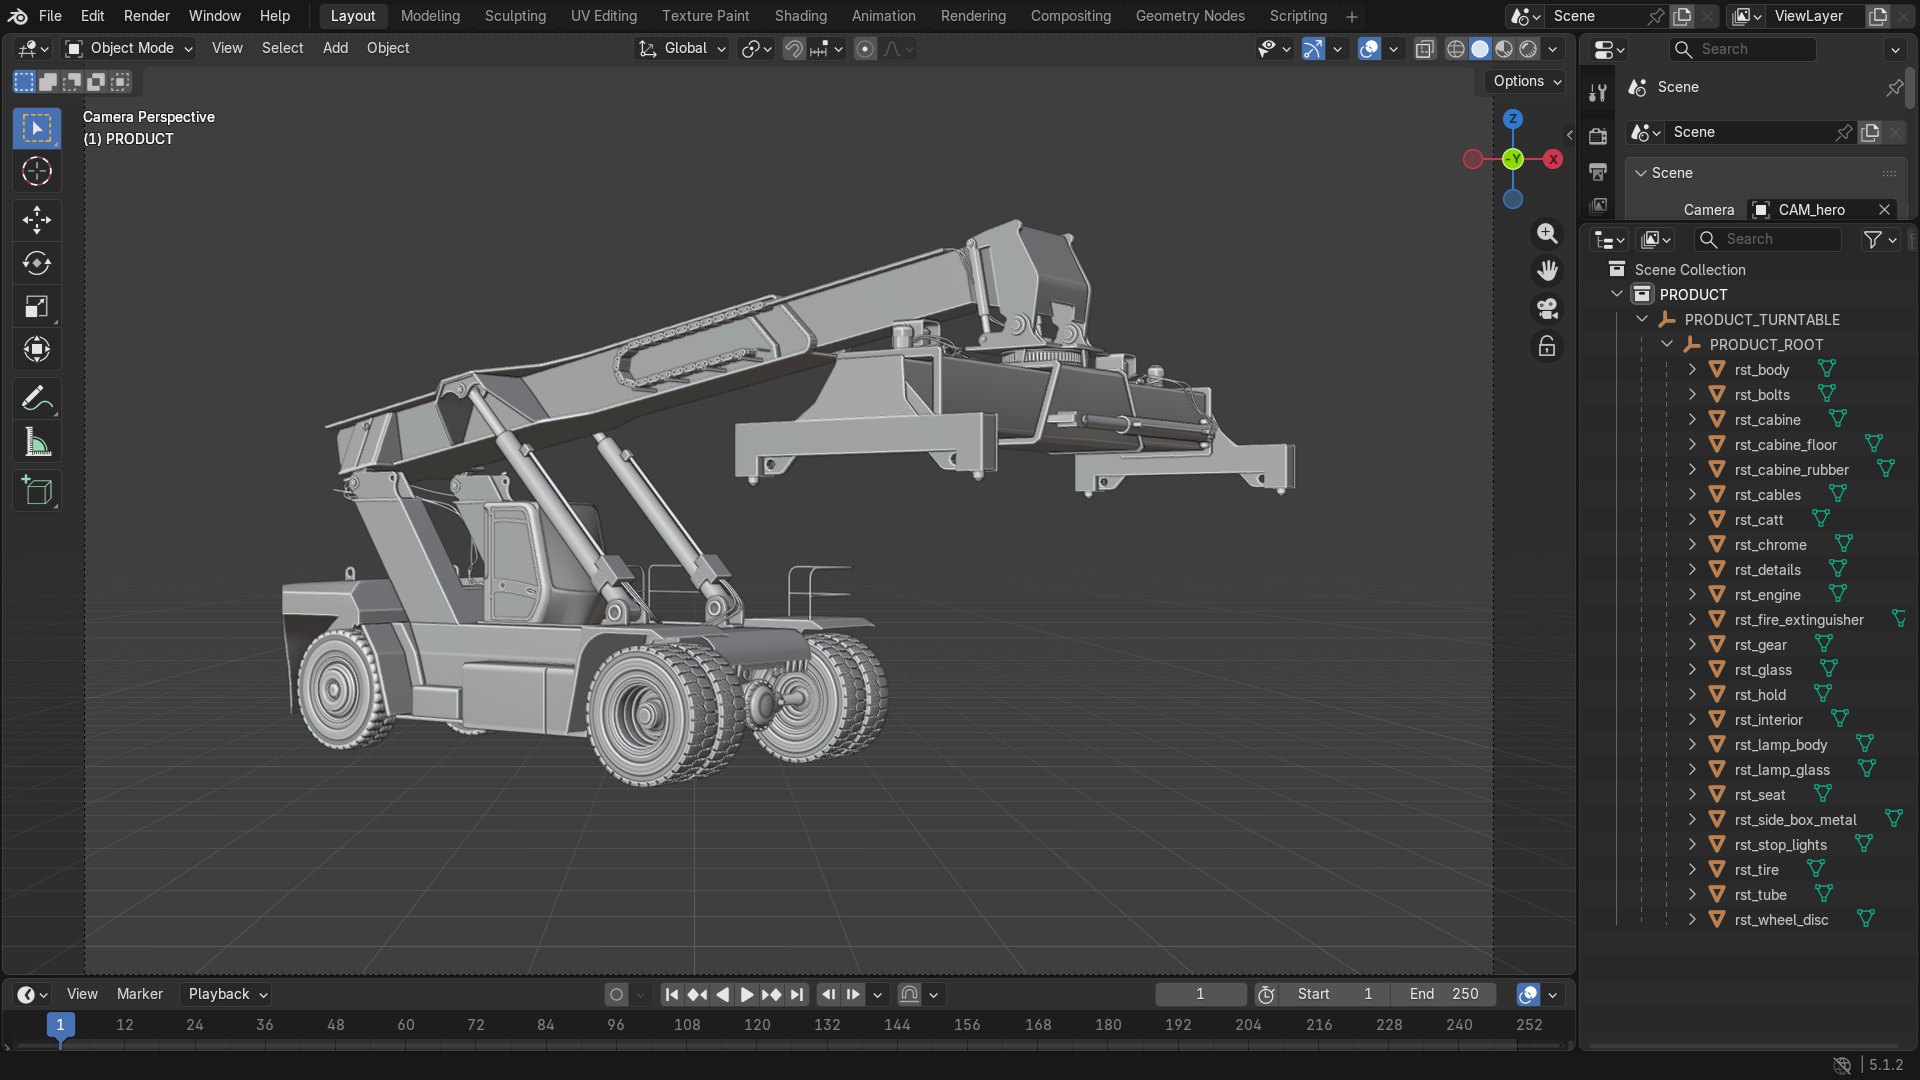
YouLoad this and strip it back to raw grey, like it came from CAD.
ClaudeLoaded it as raw grey geometry: 23 named parts (body, cab, glass, tyres, rams and so on), 11.5 m long, with every texture and colour removed.
Good product images sell, but photo shoots are slow and costly, and many products start life as a CAD file. This page shows a faster route: Claude, an AI assistant, working in Blender (free 3D software) to turn a plain 3D model into finished renders, short animations and website and print mock-ups.
We tried it on two stock models, a reach stacker and a chest of drawers. Below is the one-time setup if you'd like to try it yourself, then every step of both projects: the plain-English request, exactly as it was typed, next to what came back.
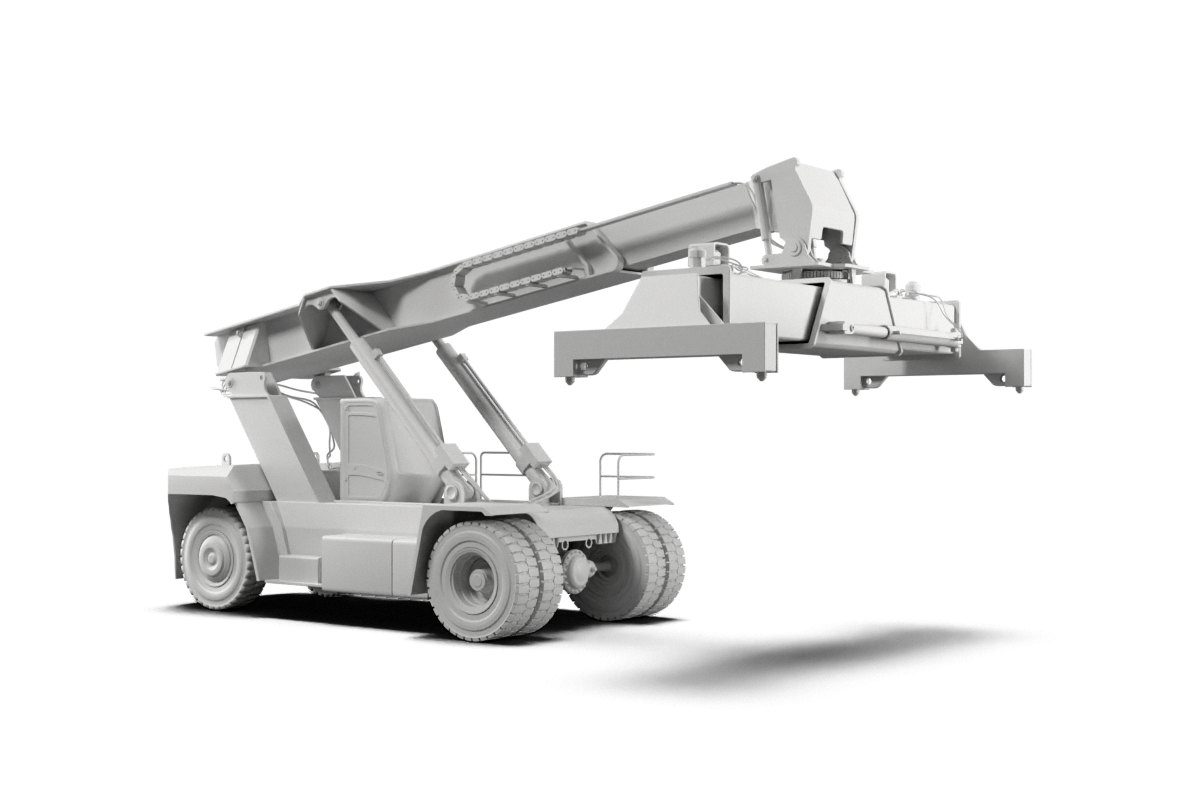
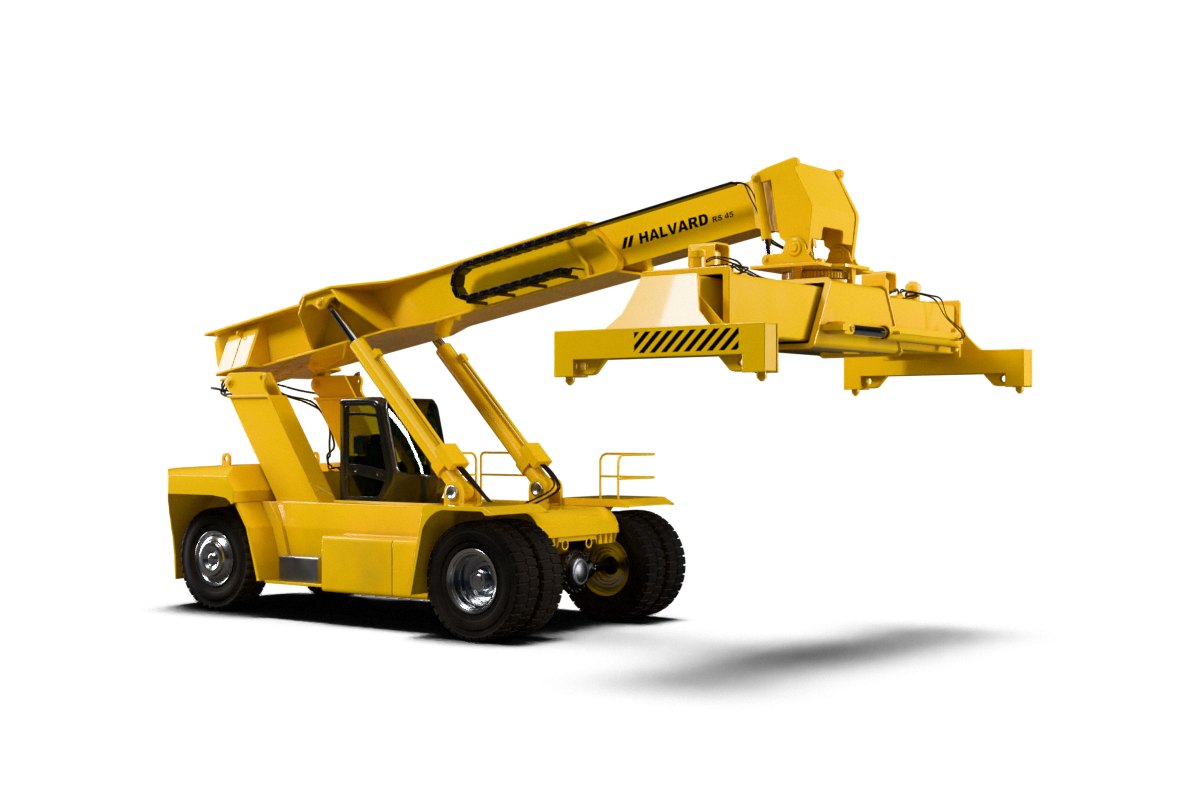
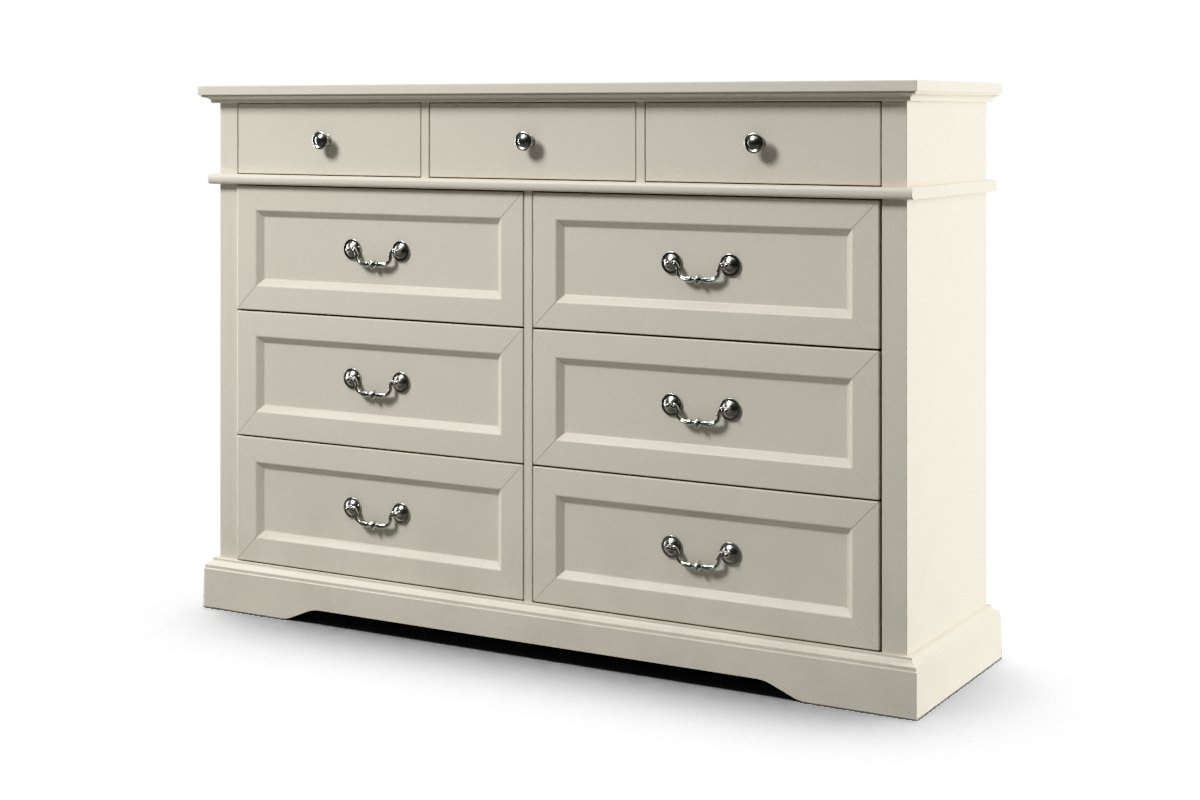
Drag each slider to compare the raw grey model with the finished render.
 Raw greyFinished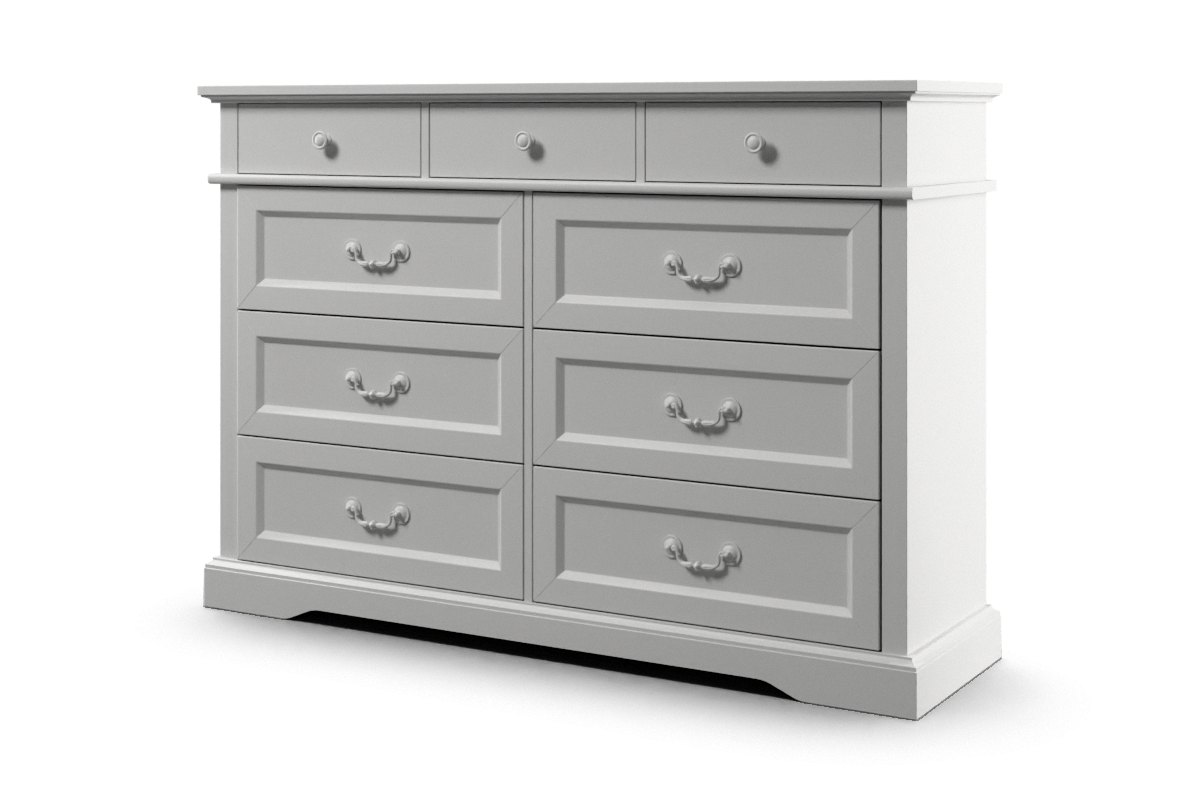
 Raw greyFinished
One-time setup
Want to try it yourself? These four steps connect Claude Code to Blender. You only do them once.
A small helper that runs the connector. In PowerShell:powershell -c "irm https://astral.sh/uv/install.ps1 | iex"
Download addon.py from github.com/ahujasid/blender-mcp. In Blender: Edit → Preferences → Add-ons → Install…, then tick “Interface: Blender MCP”.
One command, no config files:claude mcp add blender uvx blender-mcp
In the 3D Viewport press N, open the BlenderMCP tab and click “Connect to Claude”.
Then just ask: “Make a red metallic sphere floating above a blue cube.” The first command after connecting sometimes fails; a second message usually works. Needs Blender 3.0 or newer (4.x recommended), Python 3.10+ and Claude Code. Claude can run Python inside Blender, so save your scene first. Steps from blendermcp.org/setup/claude.
This demo’s renders ran as background Blender scripts started from Claude Code. The live link above lets Claude work inside an open Blender window instead.
Every project
Every step in the two examples below follows the same simple loop.
Send a short plain-English message, such as “strip it back to raw grey” or “make the paint glossy yellow”.
Claude turns your message into short scripts for Blender, built on a studio kit of lights, cameras and materials.
Claude runs Blender in the background, with no clicking. Blender loads the model, applies the look and renders the images and clips.
Automatic checks and a look at the image first, then the result comes back to you. Your next message starts the next step.
Blender is free 3D software; Claude drives it by writing scripts for it. Everything on this page ran on one computer.
Two worked examples
Each step shows the request as it was typed, Claude’s reply, the result and how long the step took. Notes can be as casual as “the chrome on the wheels looks black”.
YouLoad this and strip it back to raw grey, like it came from CAD.
ClaudeLoaded it as raw grey geometry: 23 named parts (body, cab, glass, tyres, rams and so on), 11.5 m long, with every texture and colour removed.
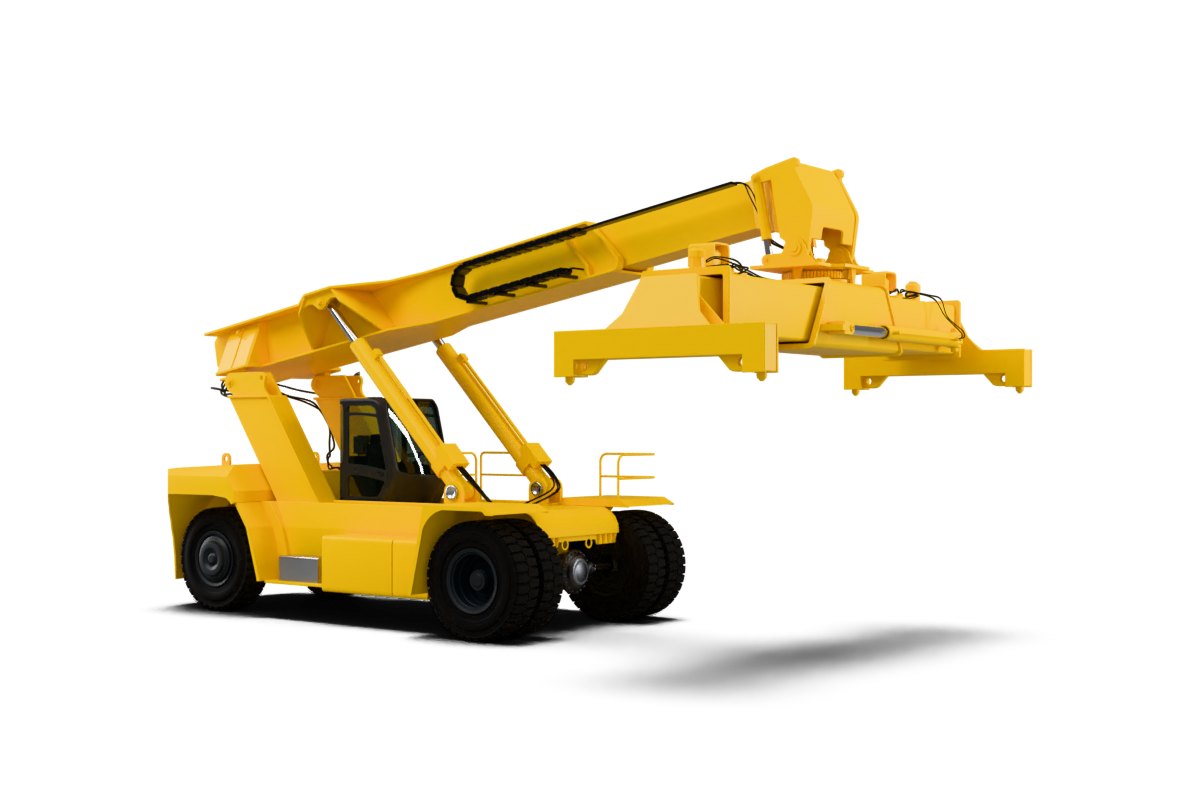
YouMake it look real: yellow paint, black tyres, tinted glass, chrome rams.
ClaudeFirst pass of real materials: yellow paint, black rubber tyres, tinted cab glass, and chrome on the ram rods. The model only has thin rods to chrome, so they show as small silver bars.
YouLooks pretty good, but the chrome on the wheels looks black. Can you make it properly chrome? It doesn't need to be too shiny, that would look artificial.
ClaudeDone: the wheel rims are now a satin chrome. They look like real metal with a soft sheen, so they don't read as a mirror.
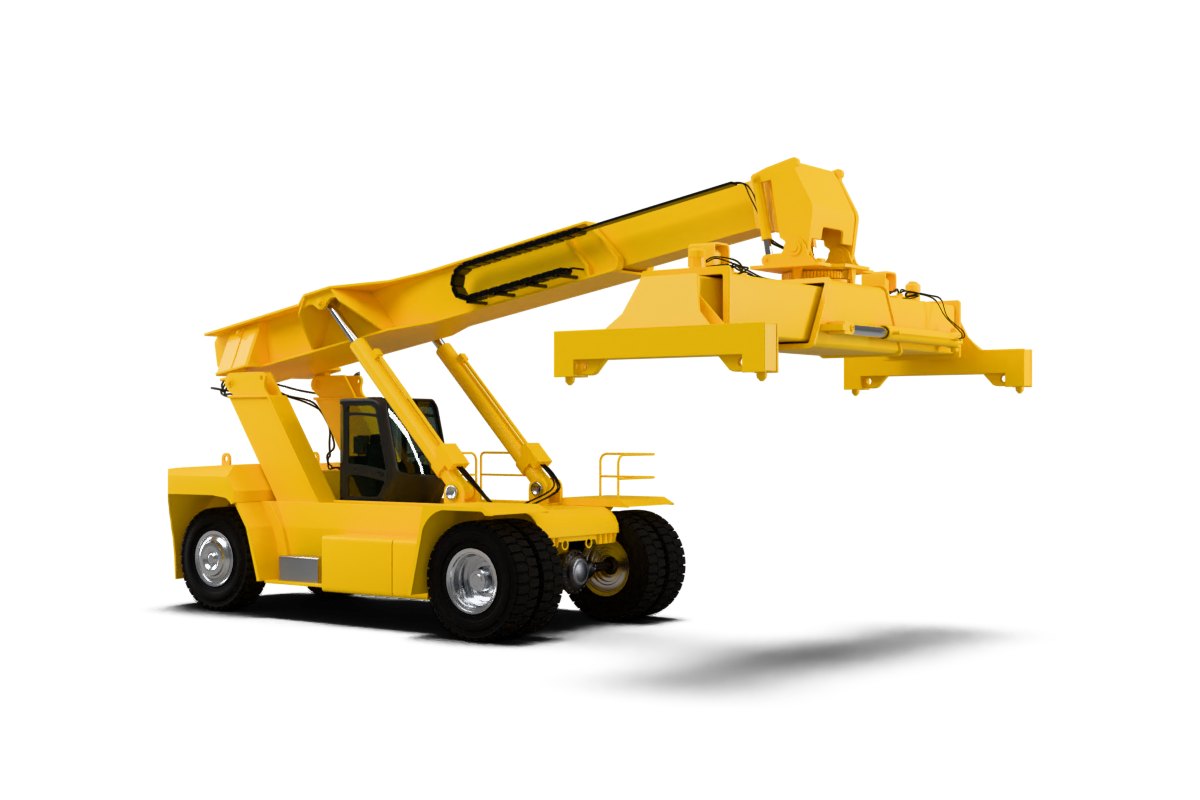 First passAfter your note
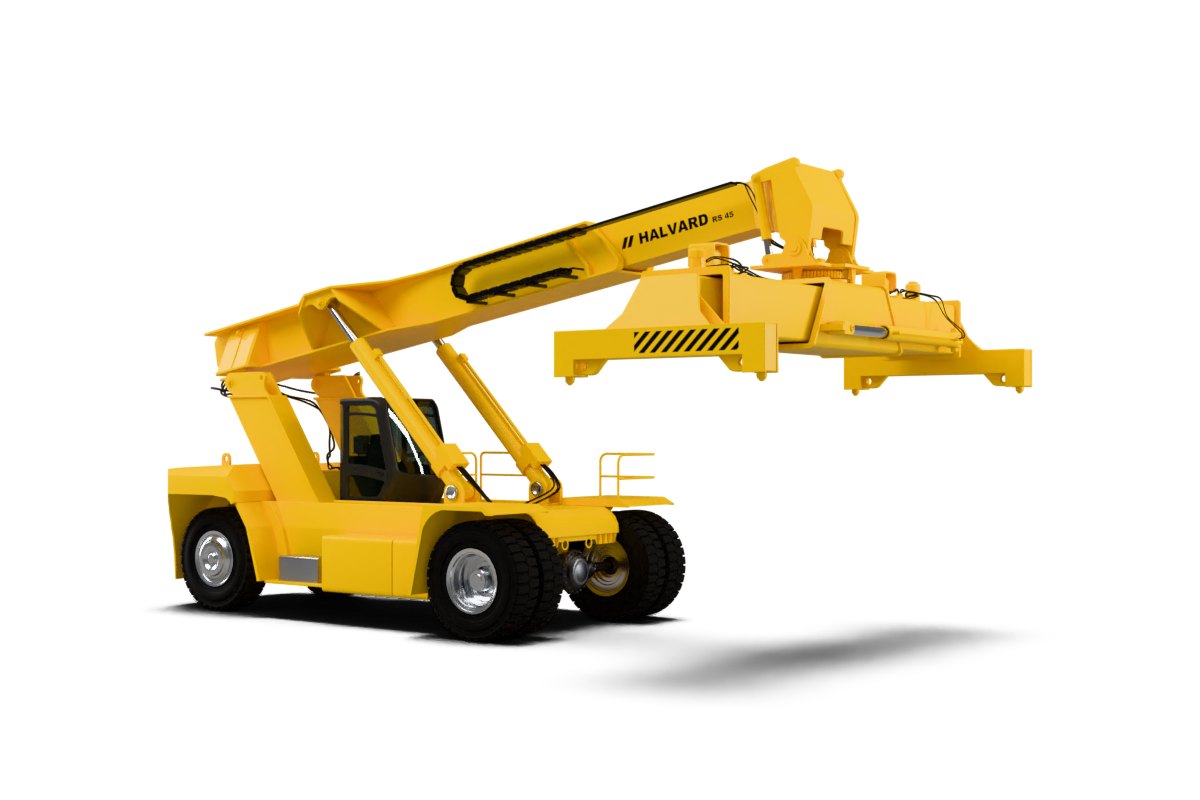
YouGo ahead and brand it.
ClaudeBranded it as HALVARD RS 45: the logo runs along both sides of the boom and sits on a nameplate at the back, with hazard stripes under it and on the spreader ends.
YouBrochure shot on white and a dark launch-ad version. Just the one angle.
ClaudeRendered the hero shot in both looks: a white catalogue version and a dark launch version.
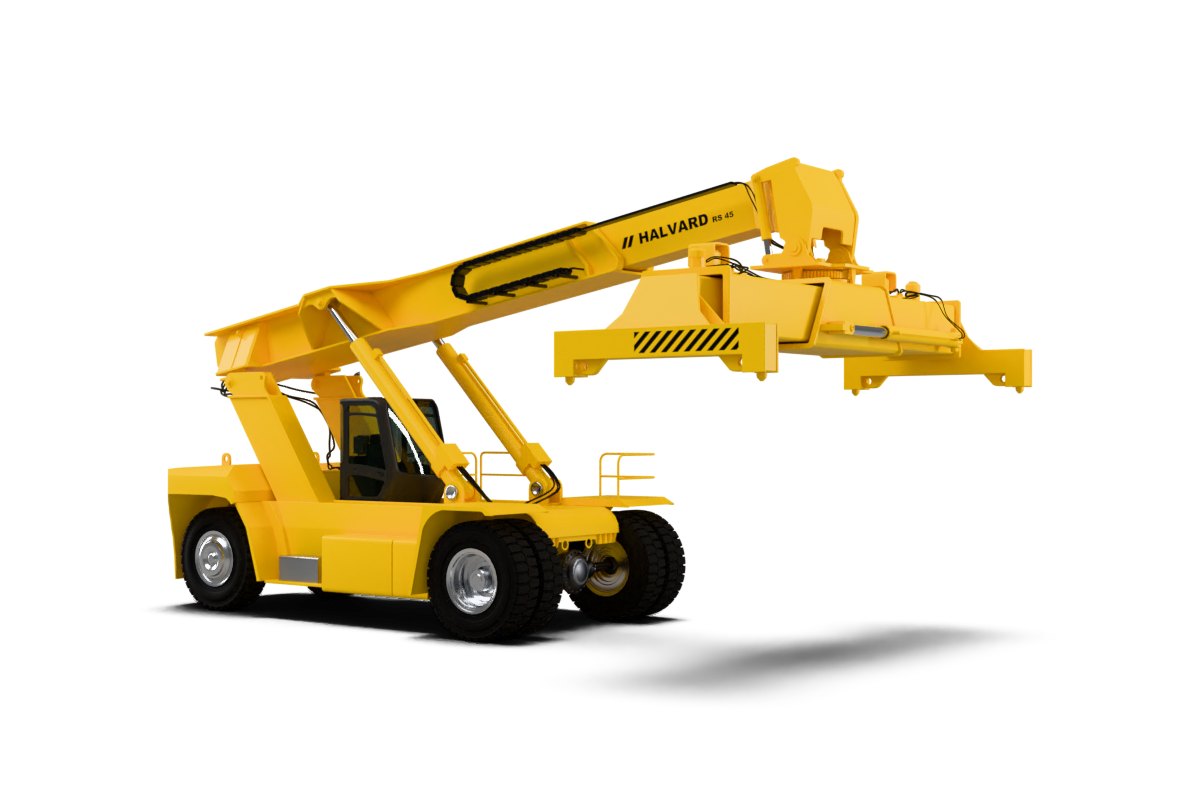
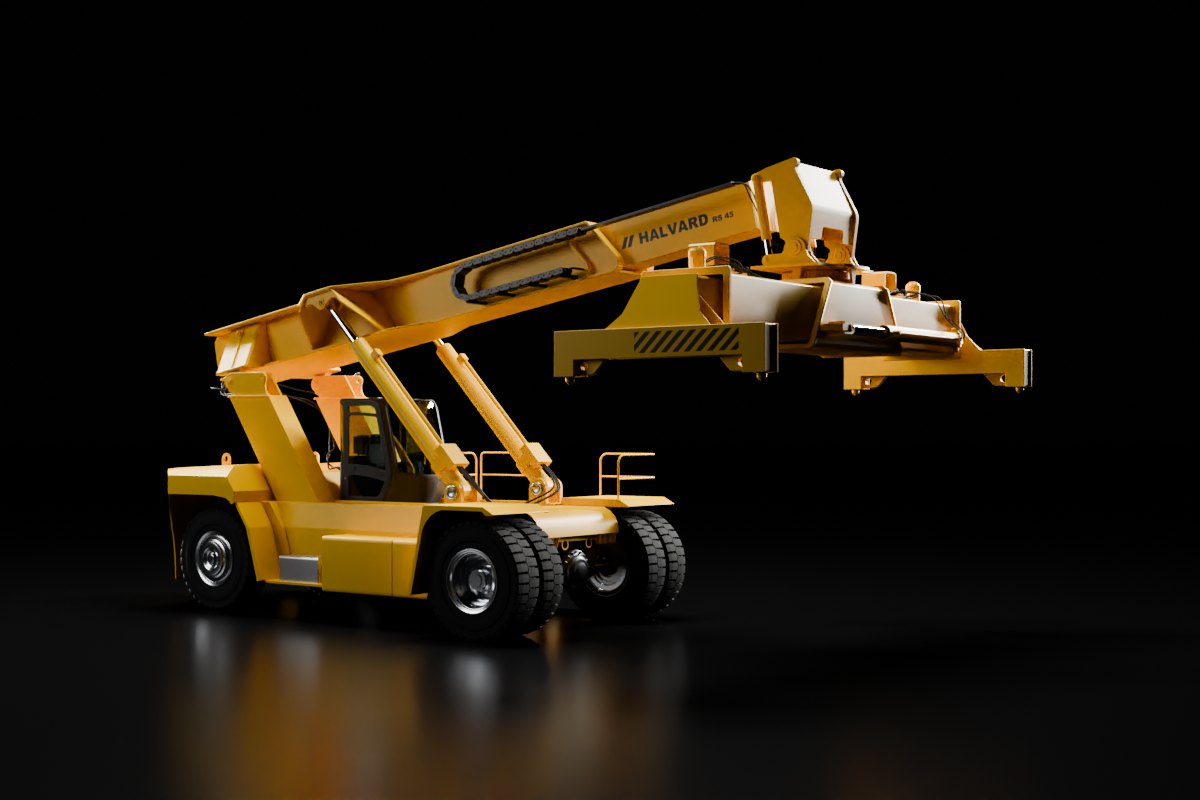
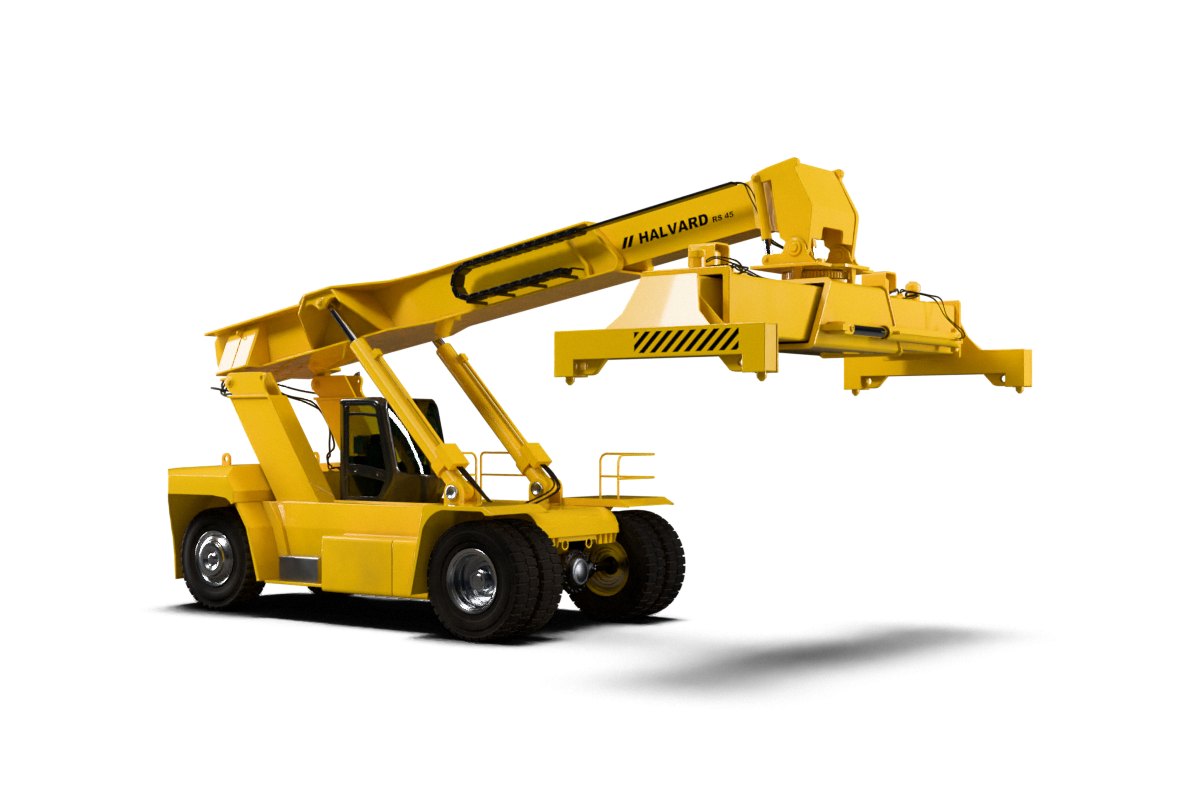
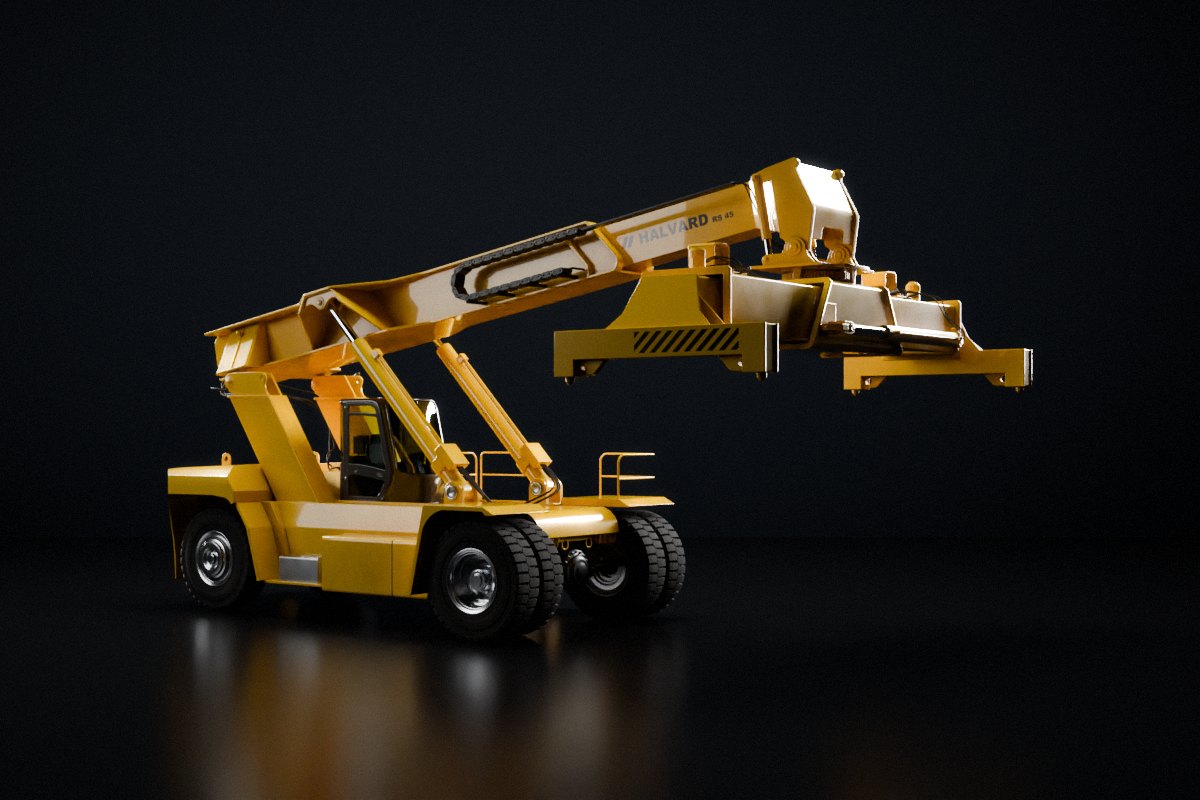
YouThey look good, but they still look like a 3D model with nice lighting on it. I'd guess it's mostly the lighting, plus some texture work.
ClaudeAgreed: the paint was too matte, with nothing to reflect. I rebuilt the lighting and surfaces: glossy clear-coated paint, light dust and edge highlights, bigger softboxes with black cards for reflections, a glow behind the machine in the dark version, and a touch of film grain. Top row is before, bottom row is after.
YouAnimate it.
ClaudeMade a 6-second slow turn of the machine in the dark look, in 720p, with a gentle push in. The logo and hazard stripes stay readable as it swings round.
YouNow put these into website and print mock-ups.
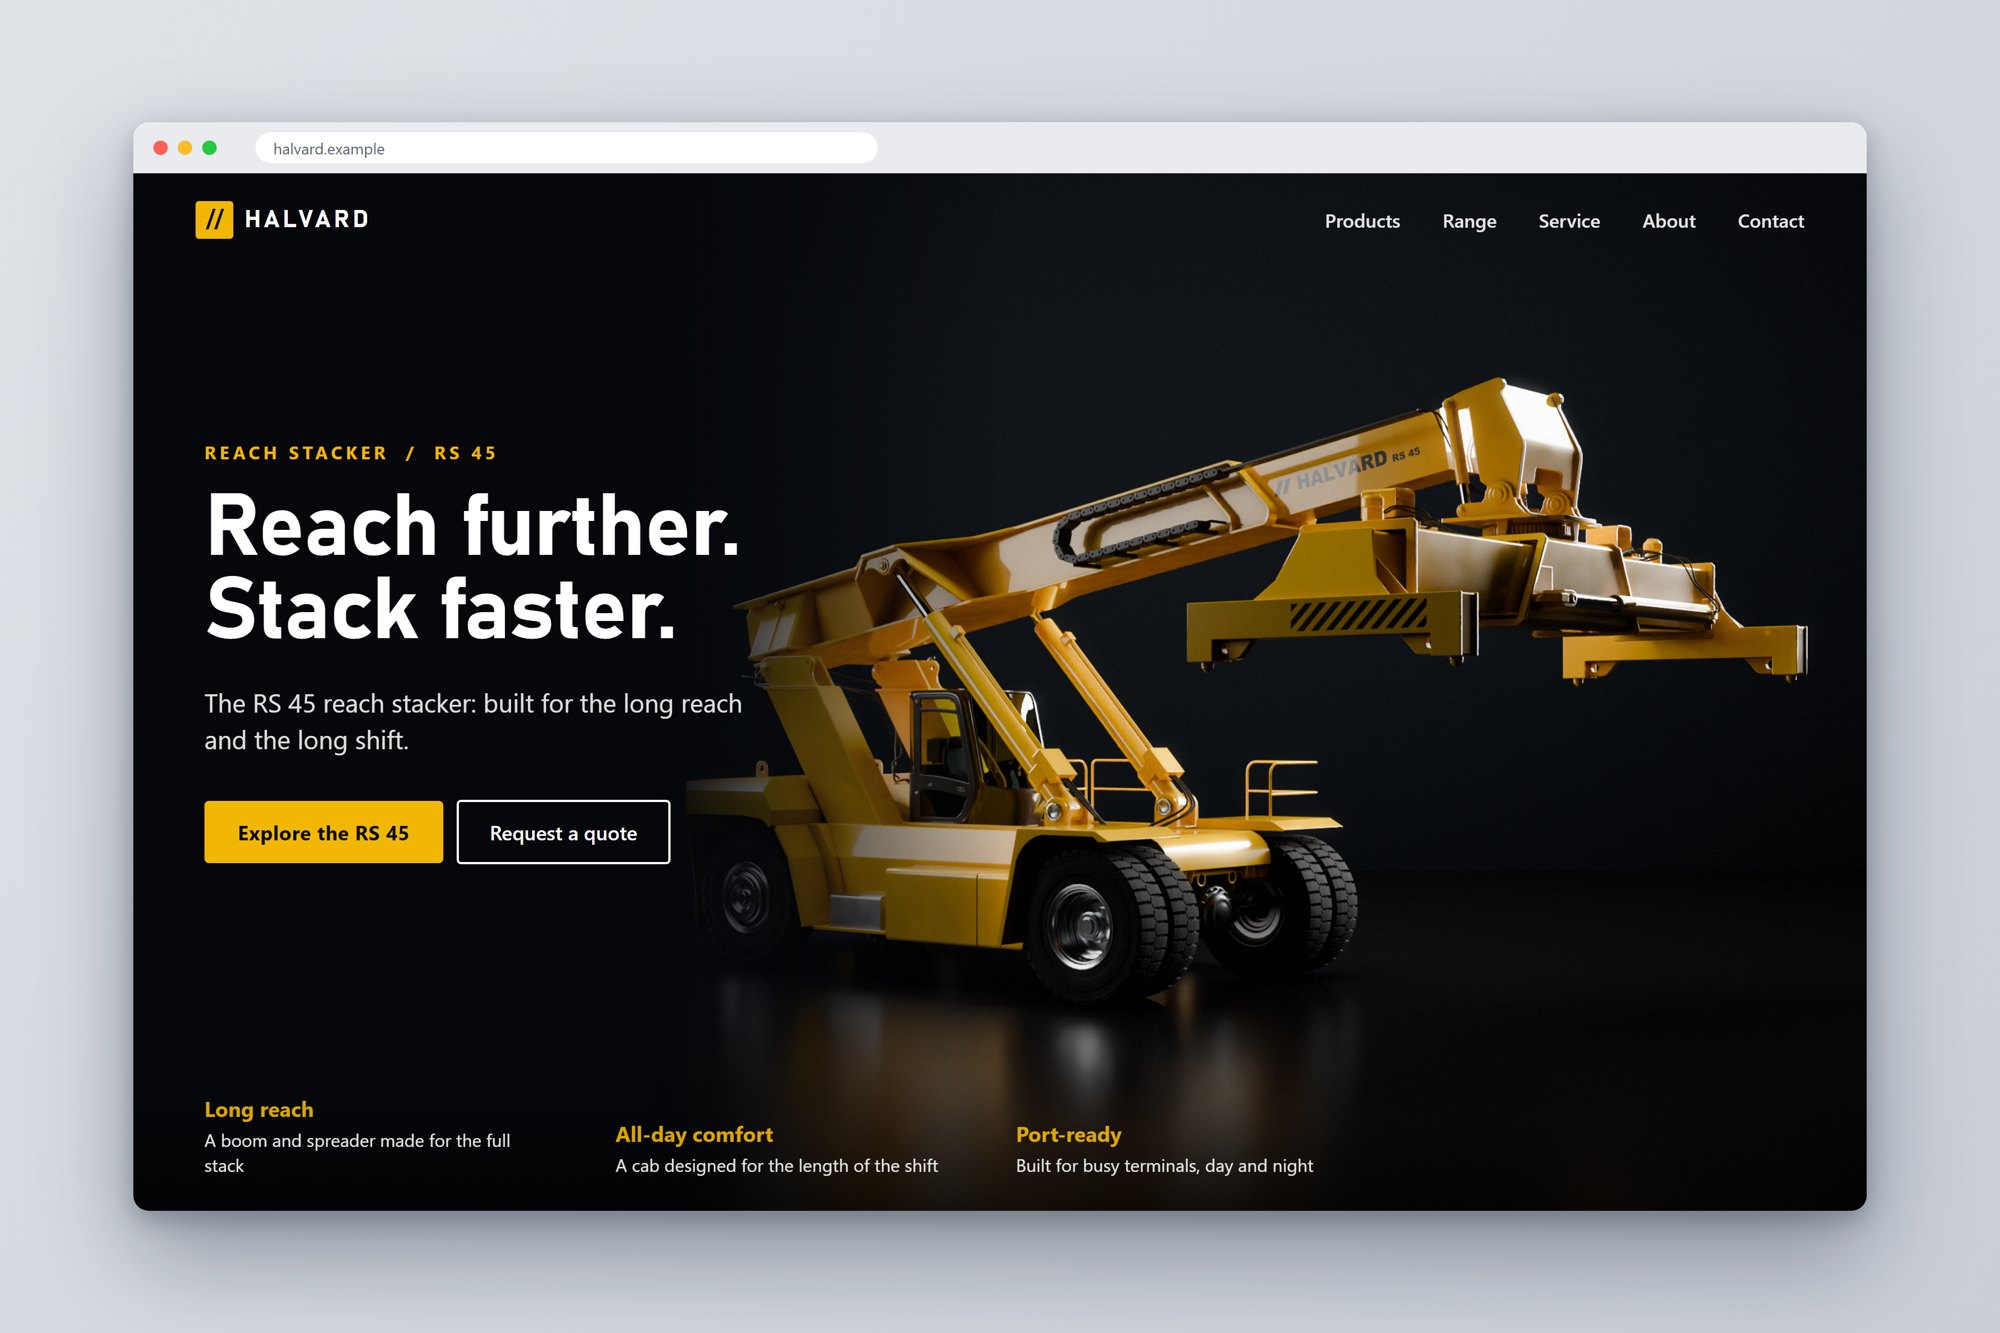
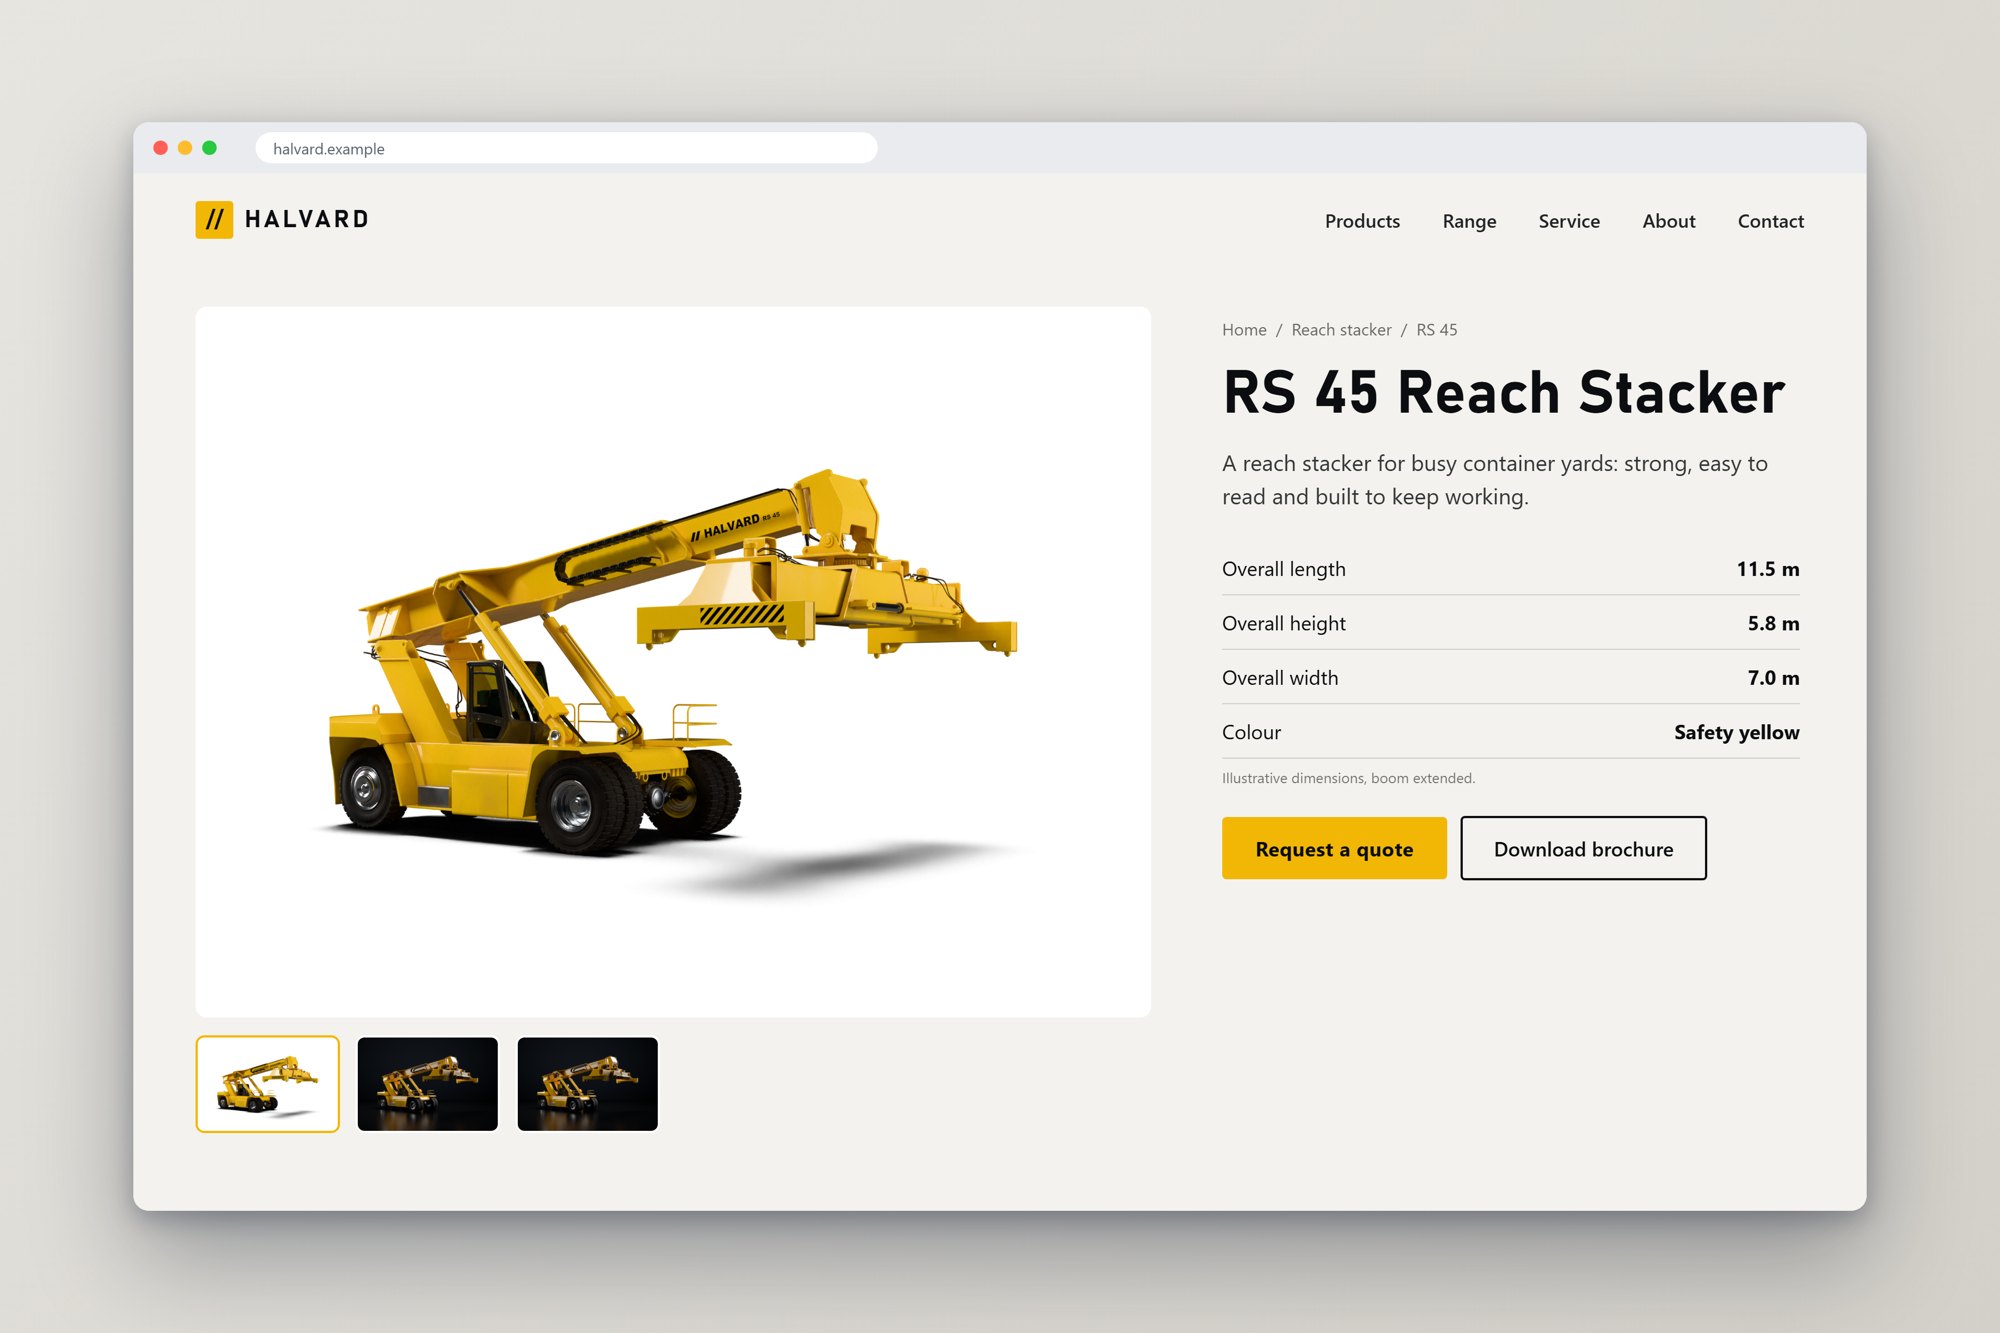
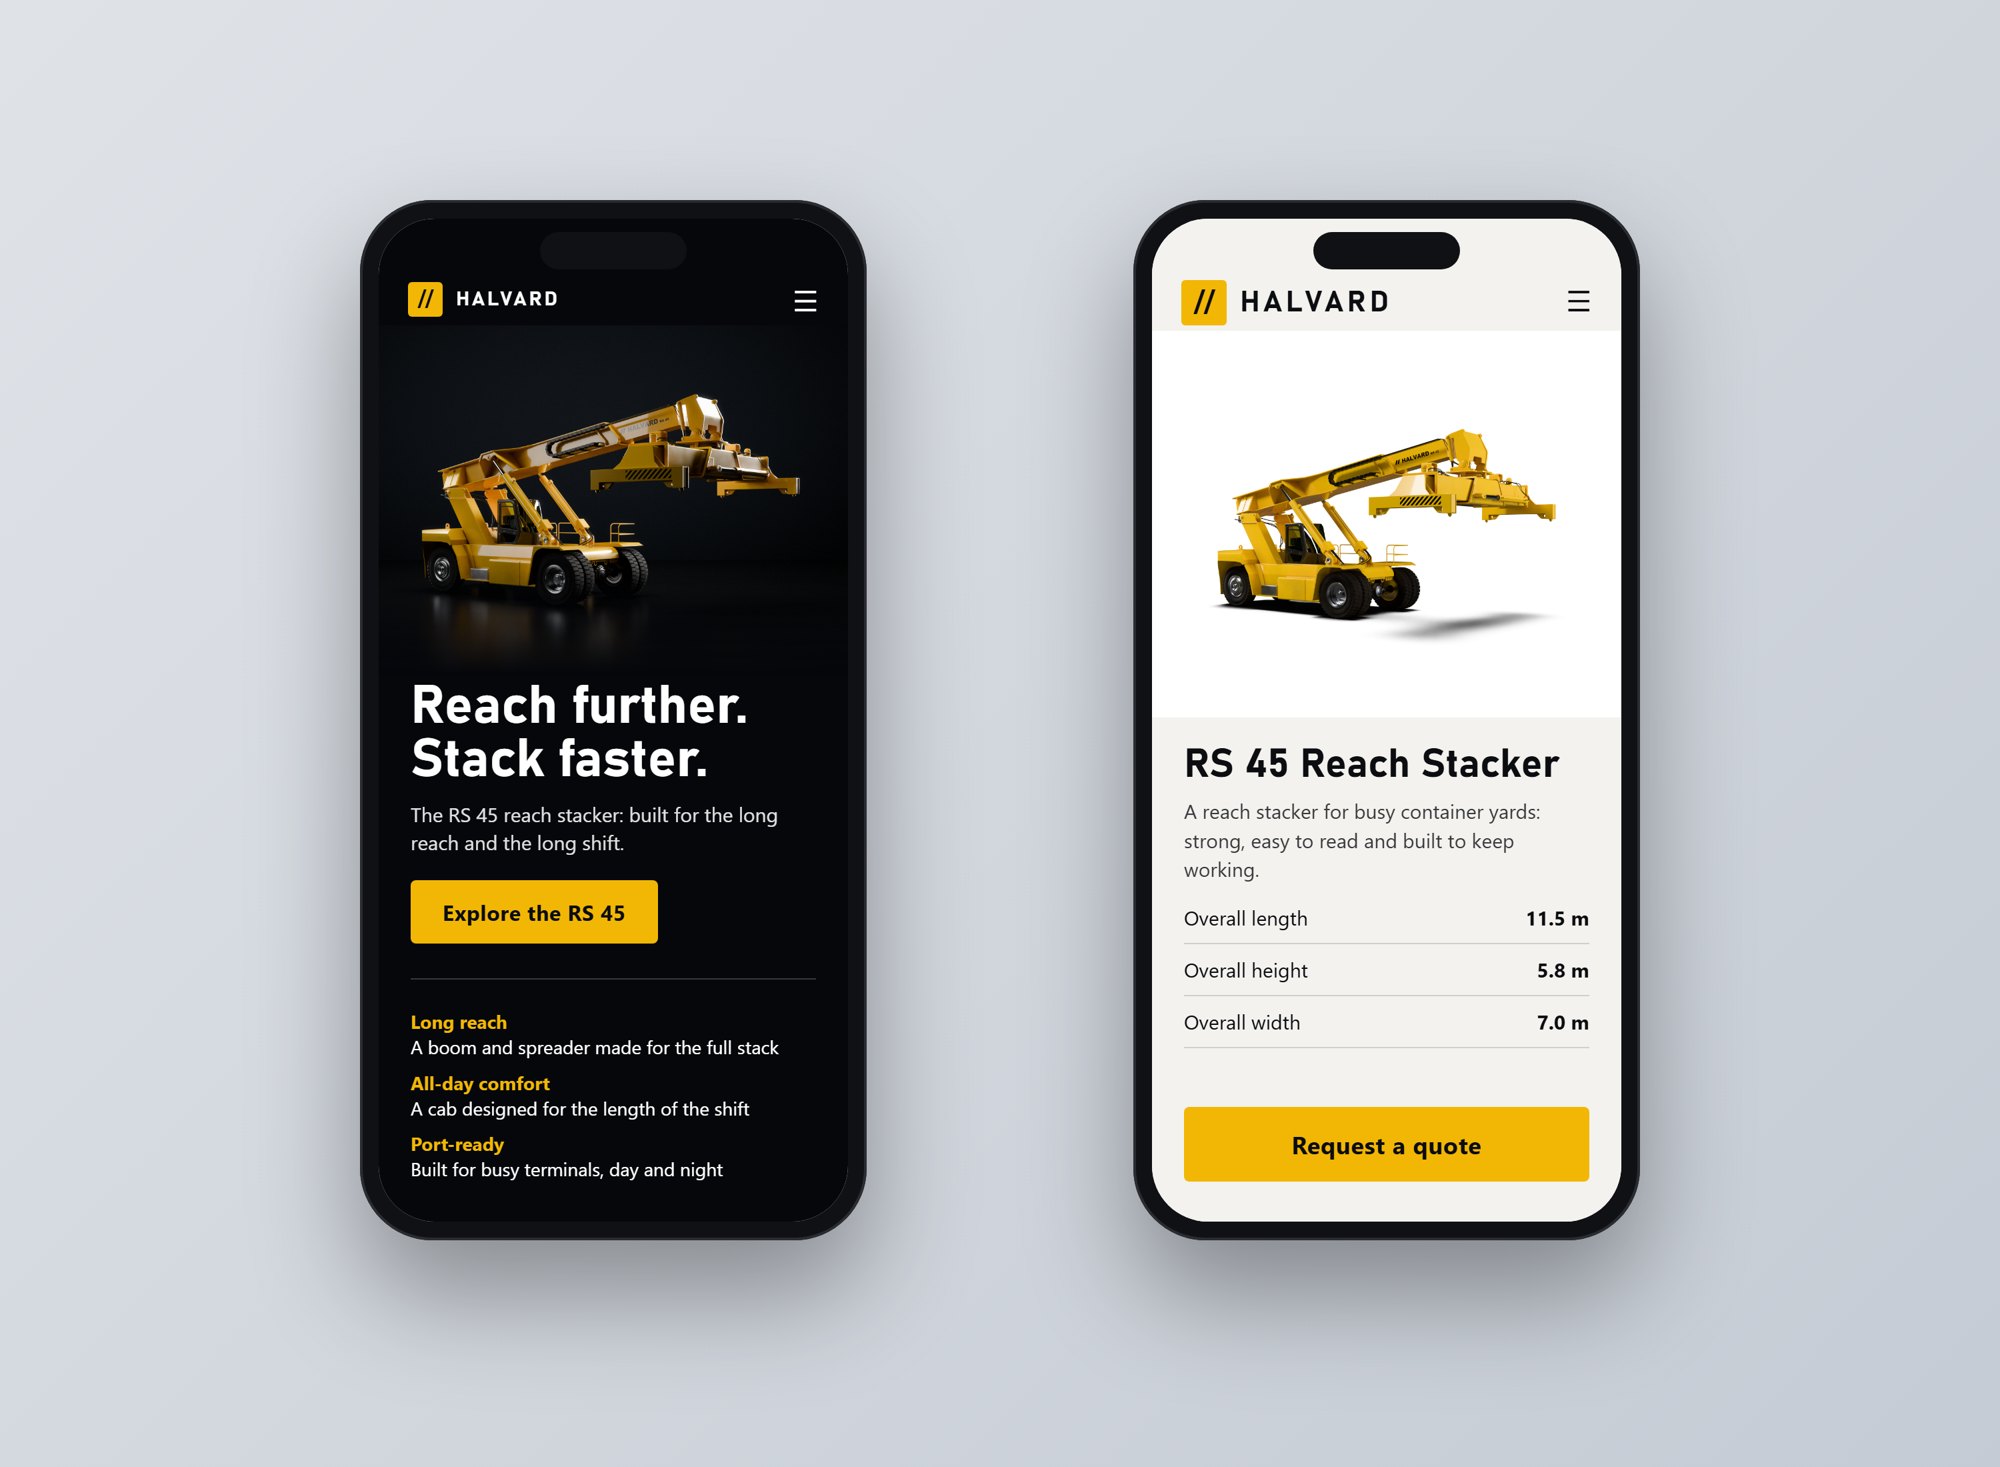
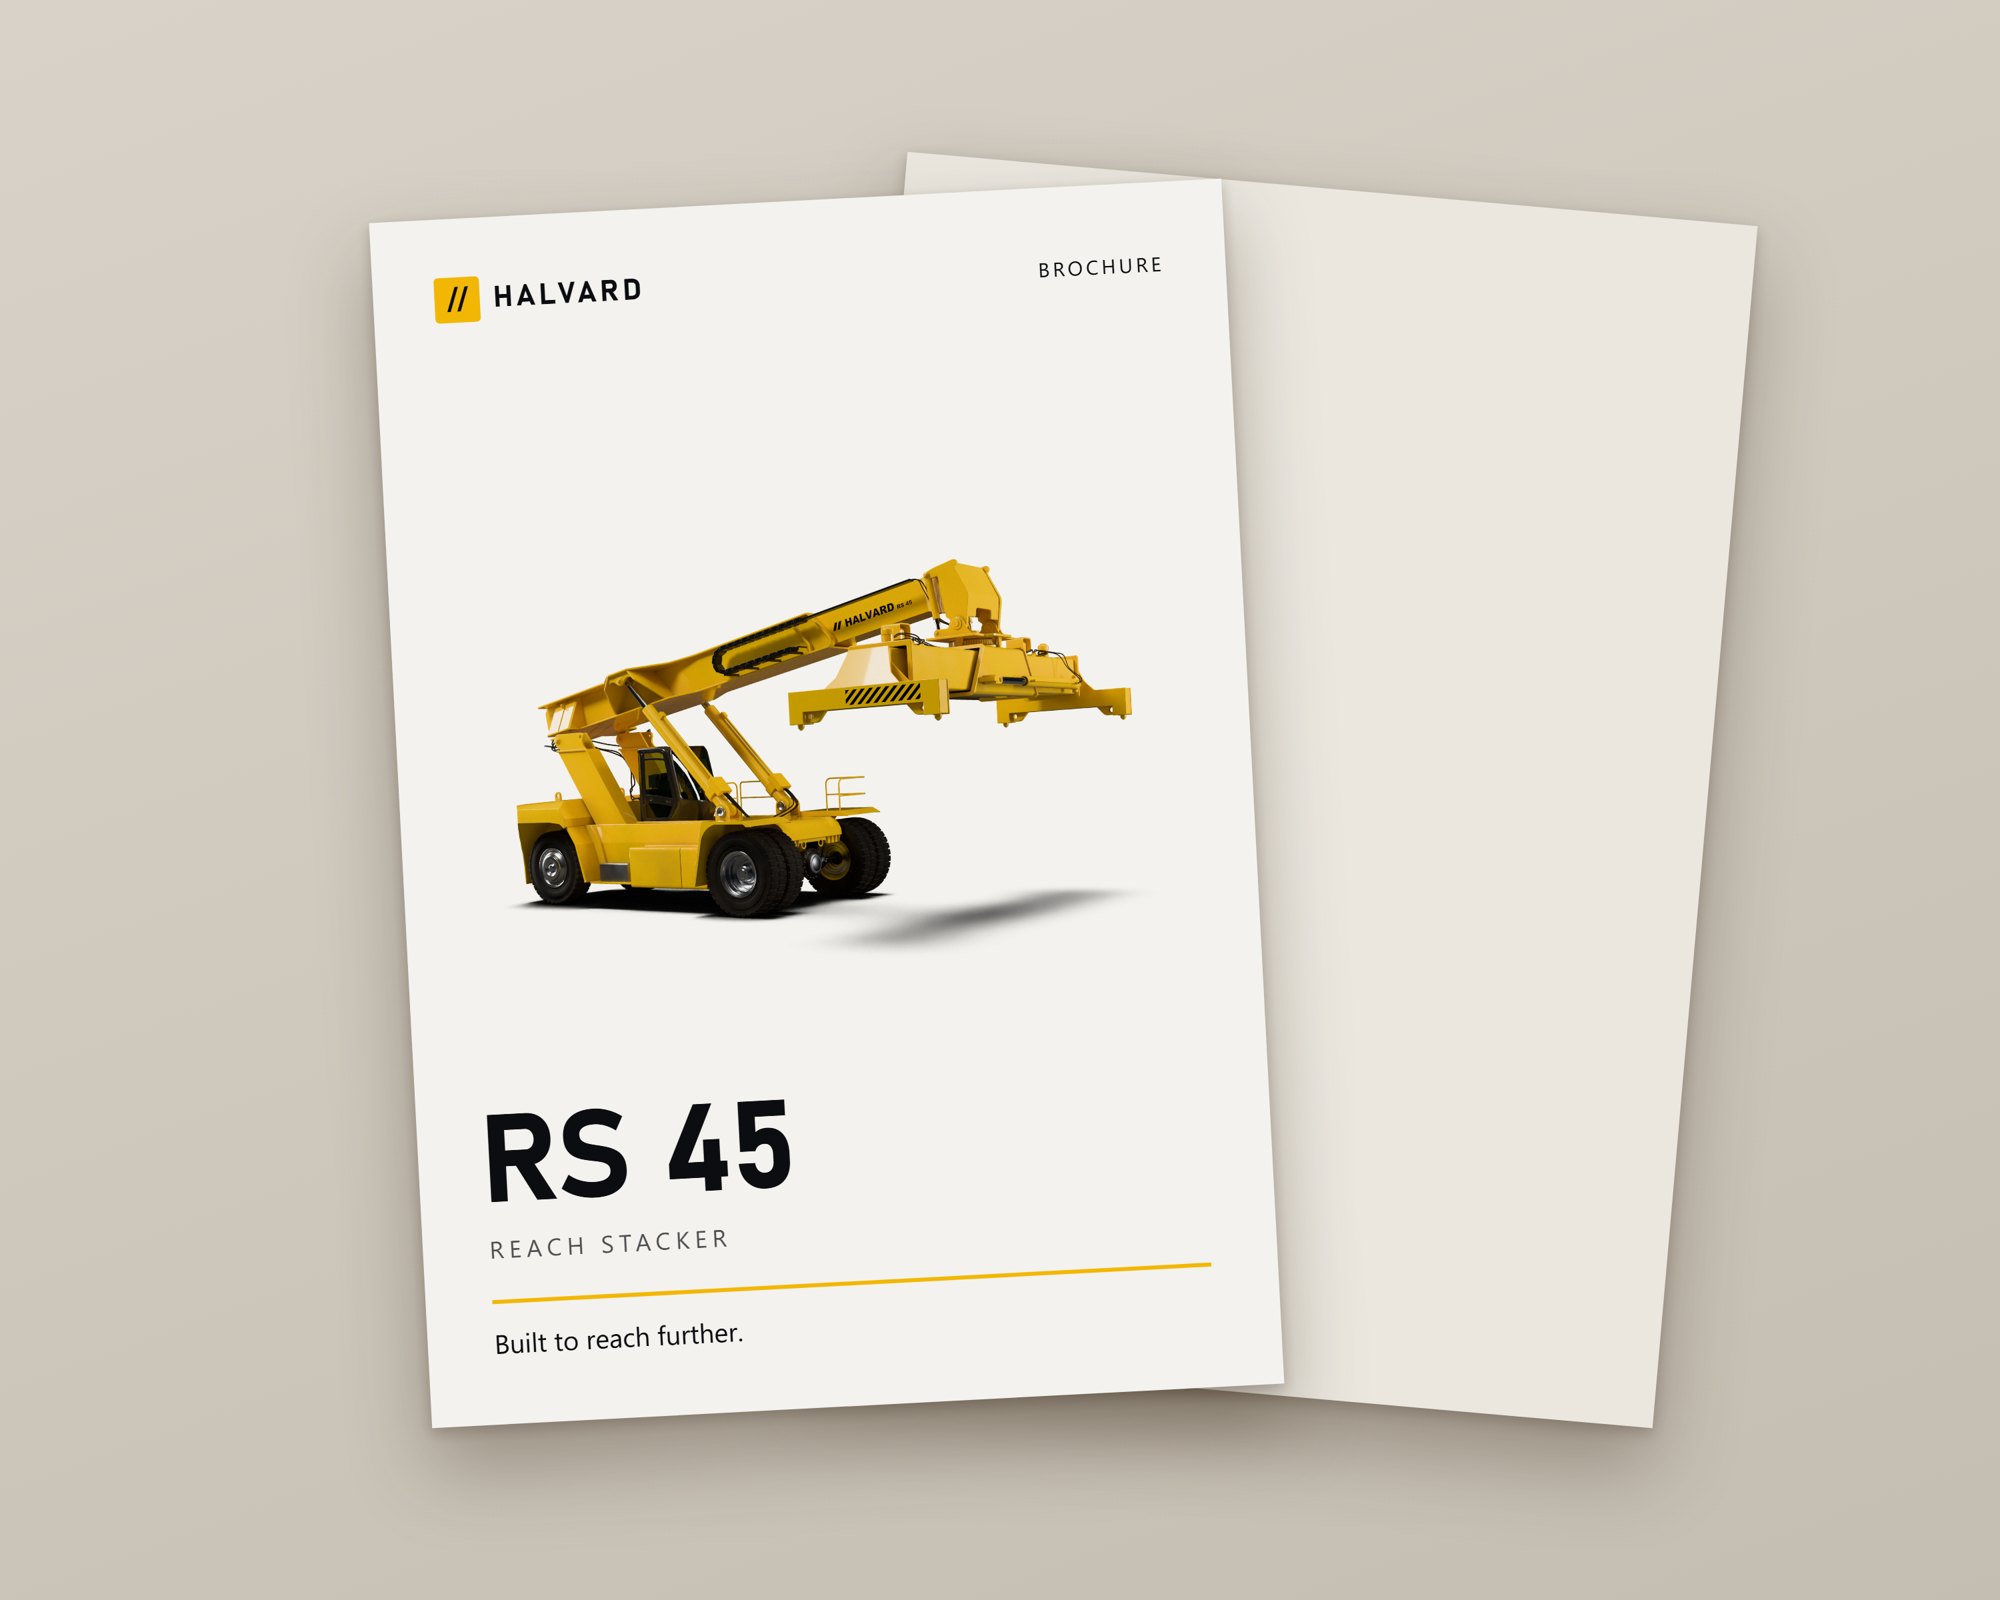
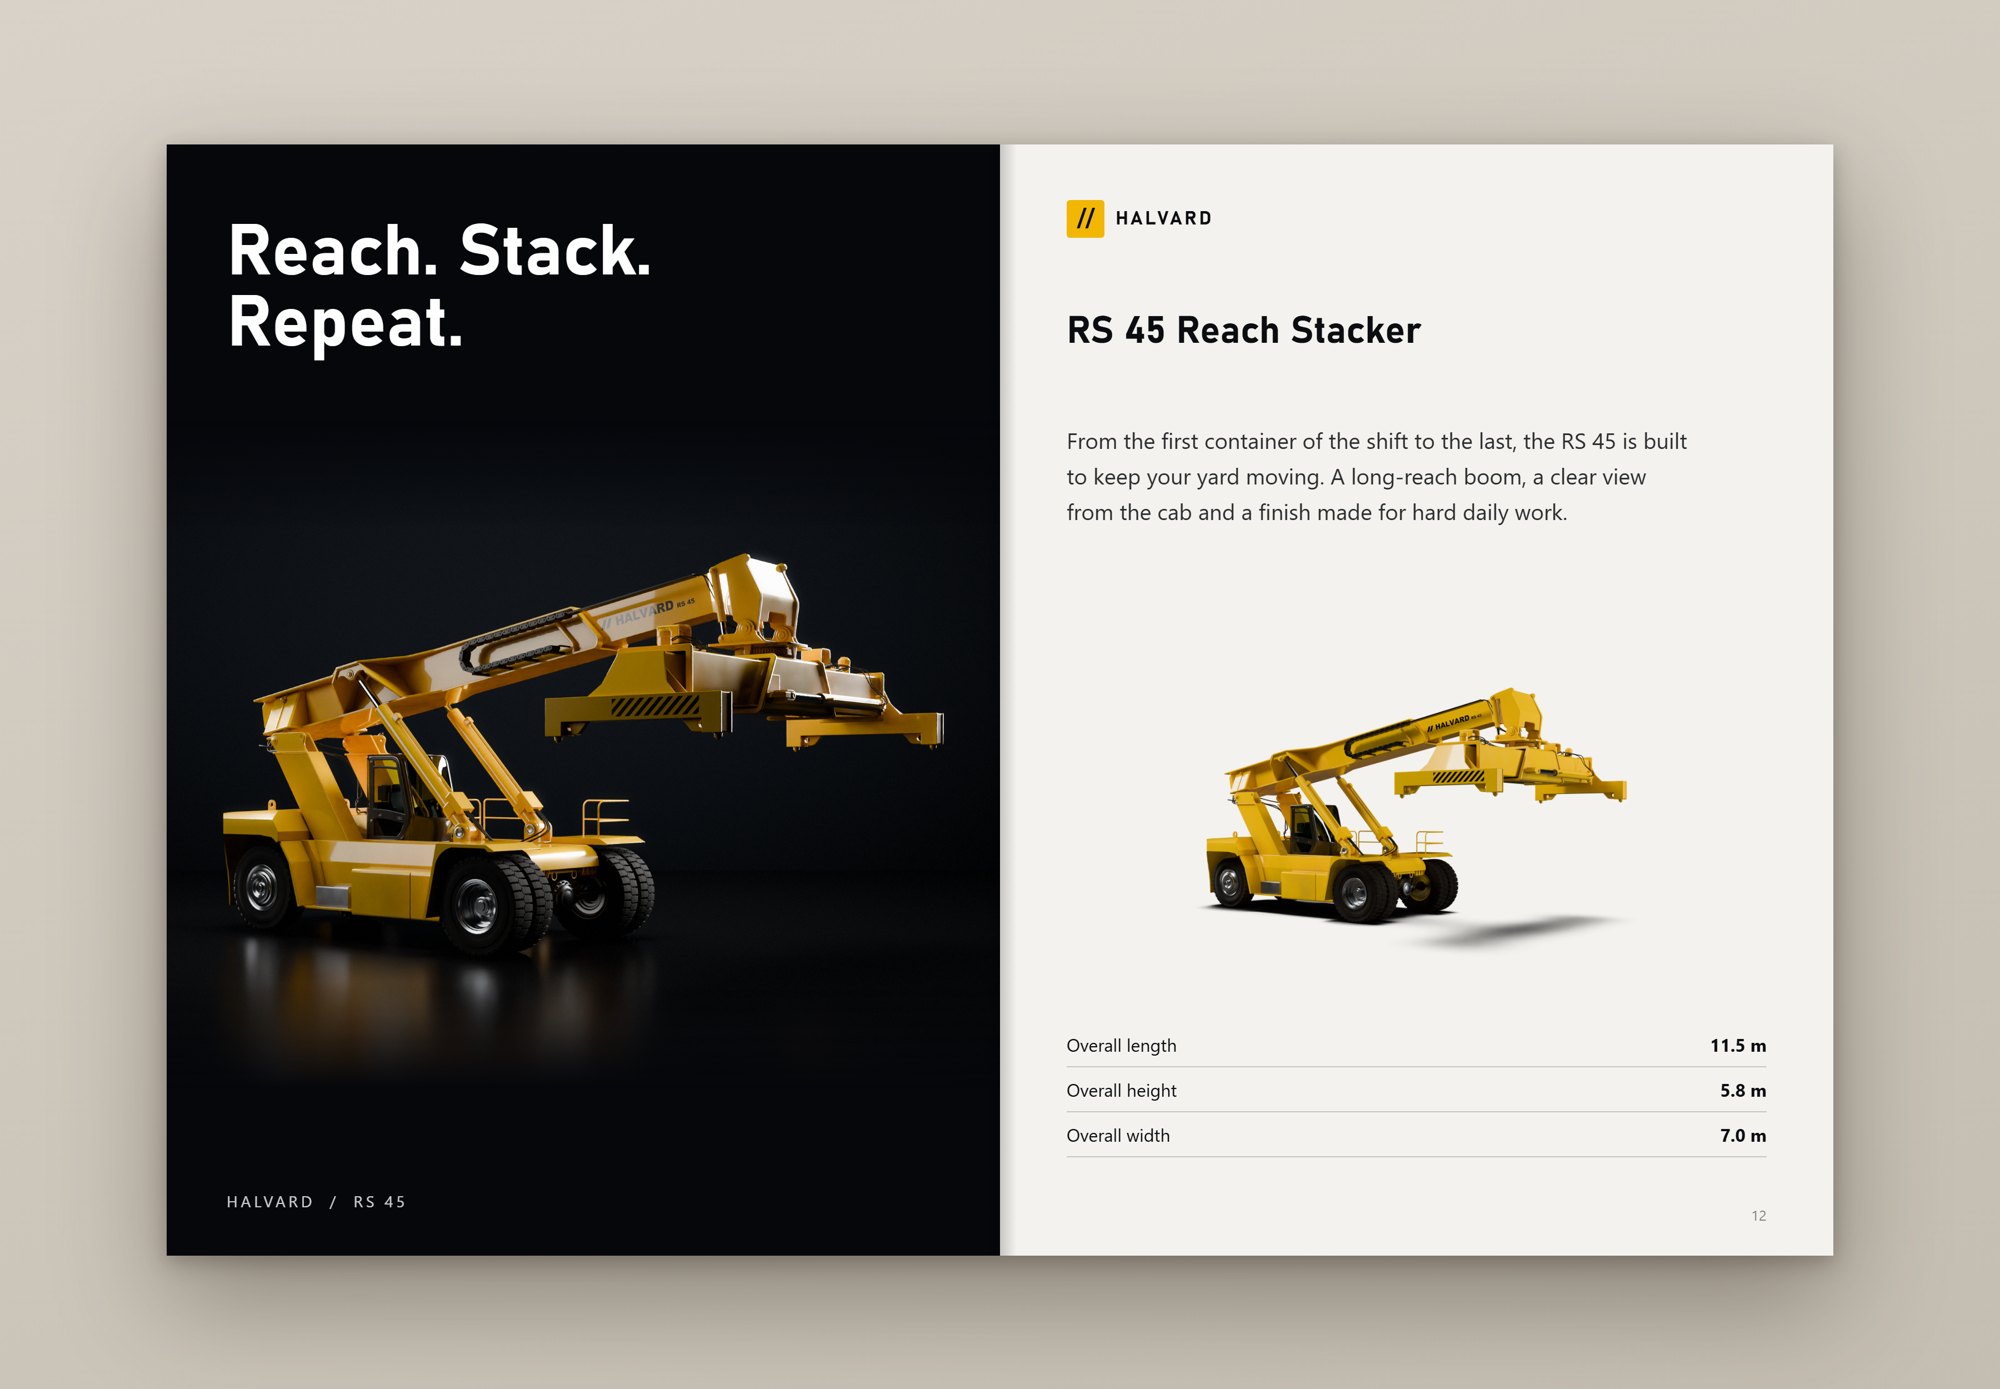
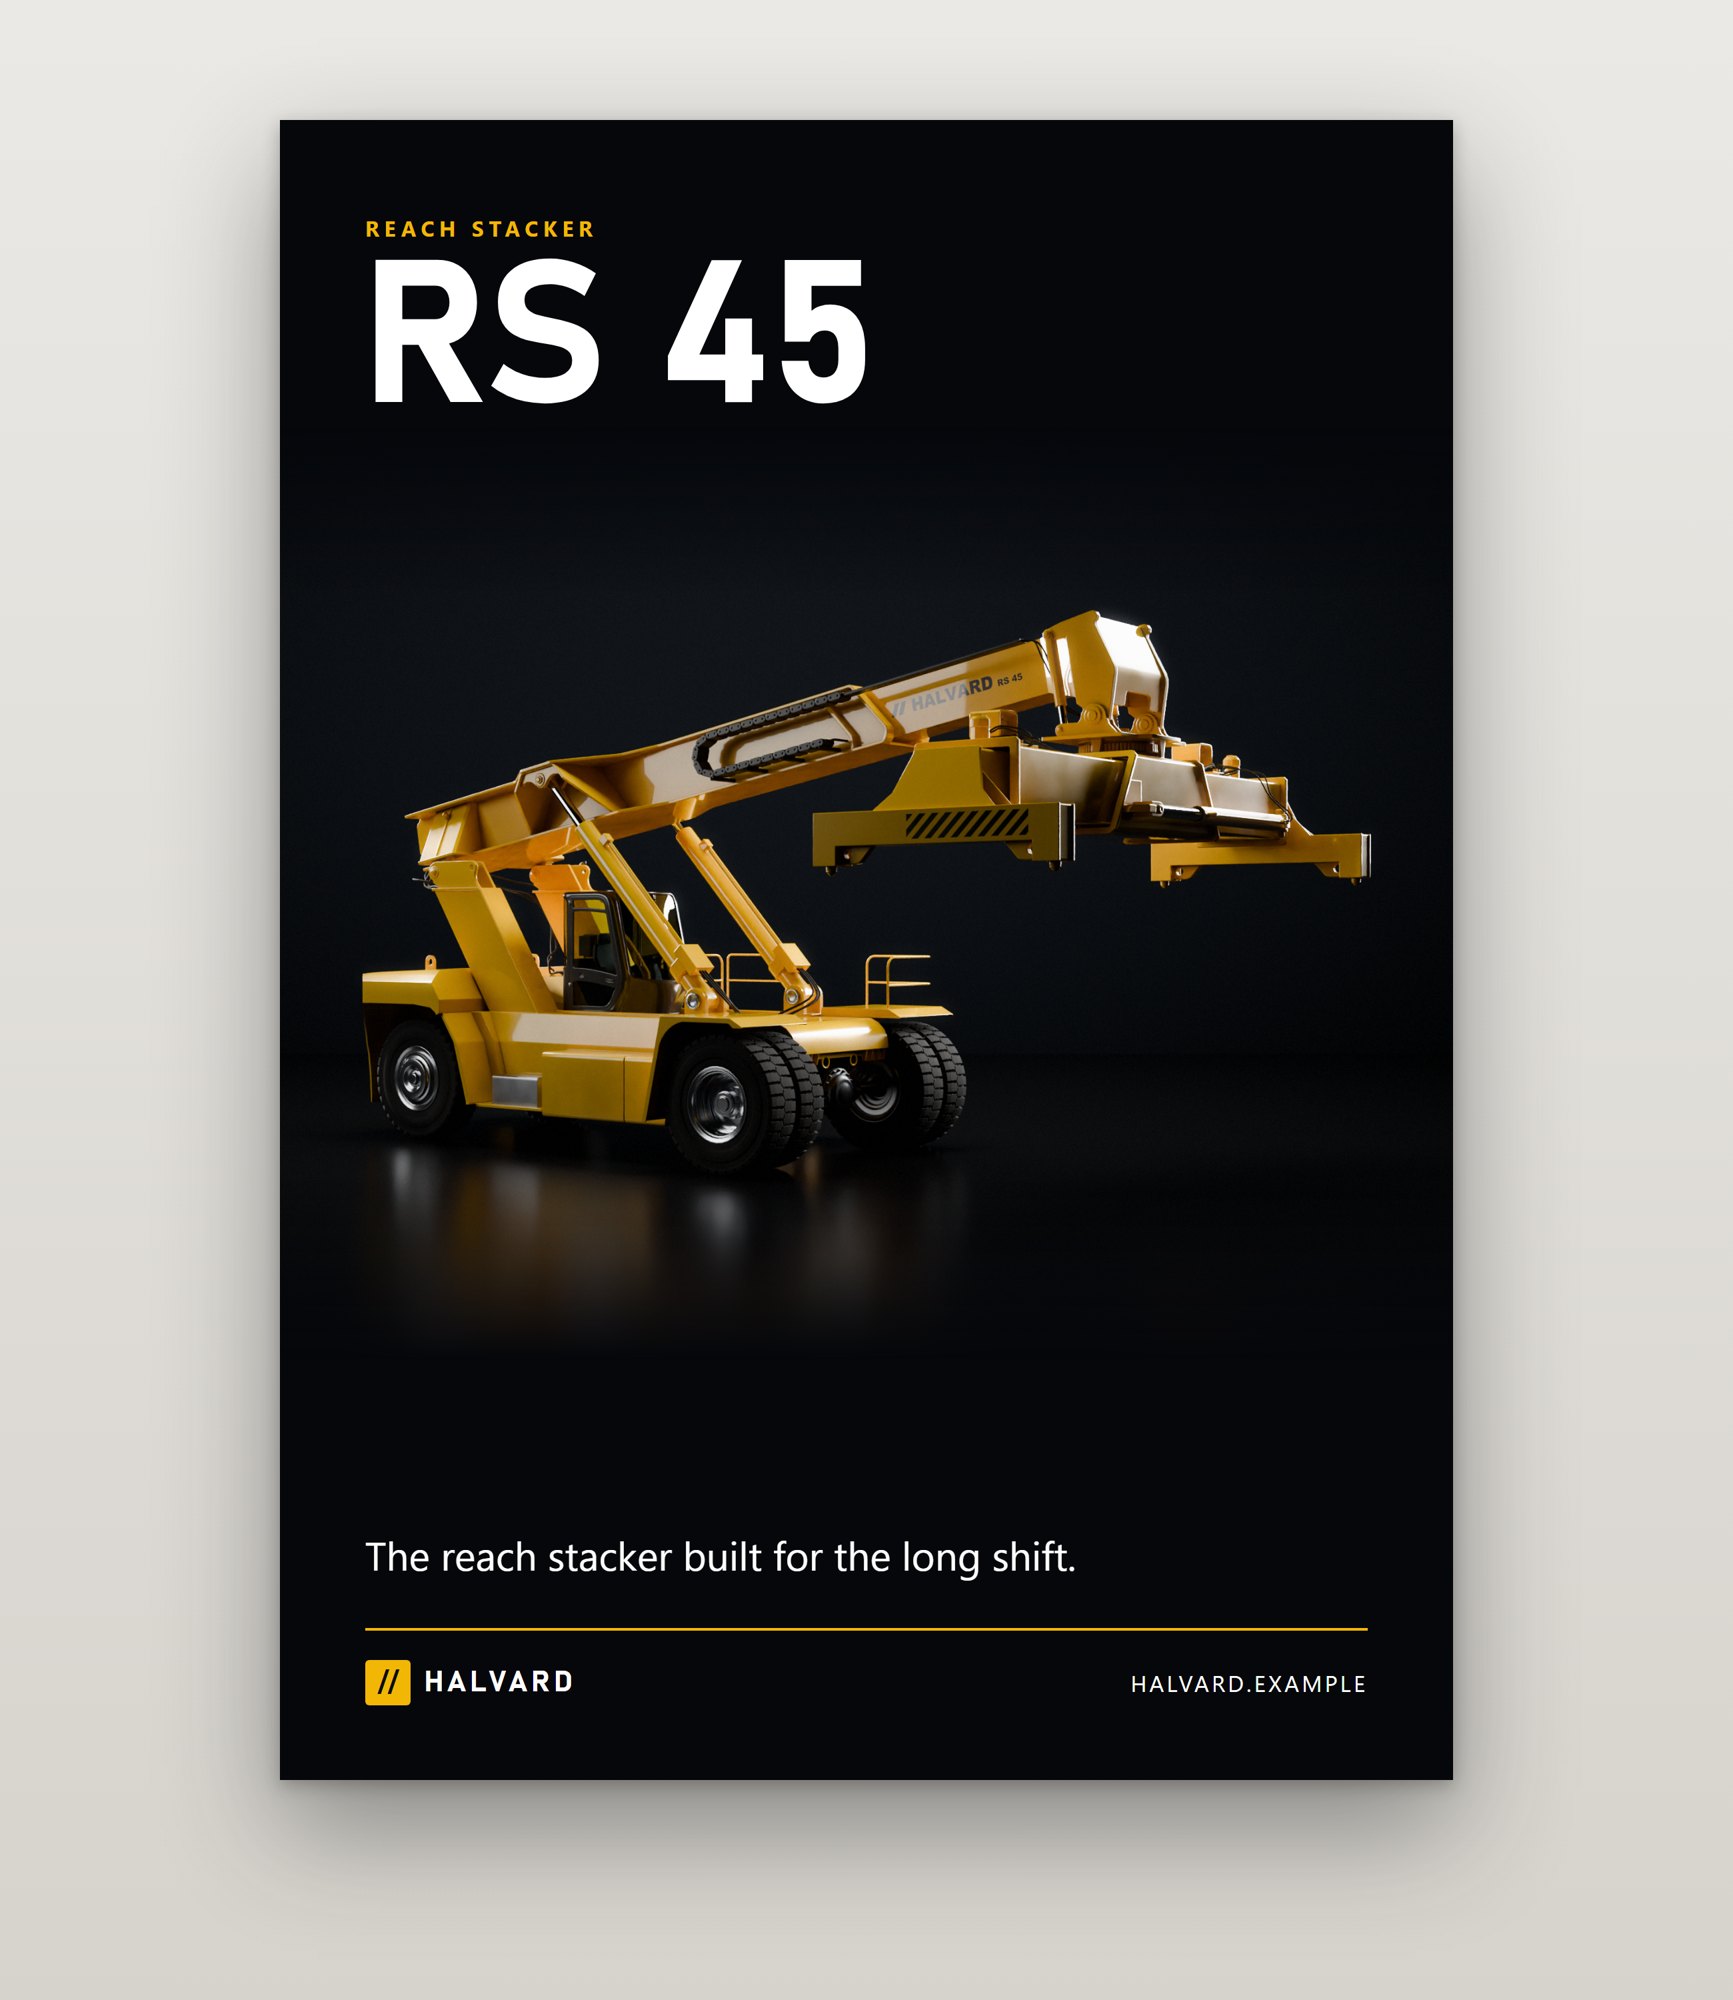
ClaudePlaced the finished renders into website and print mock-ups: a desktop hero, a product page and a phone view, plus a brochure cover, a two-page spread and a poster. The copy and web address are invented placeholders; HALVARD is the made-up brand from the earlier stages.
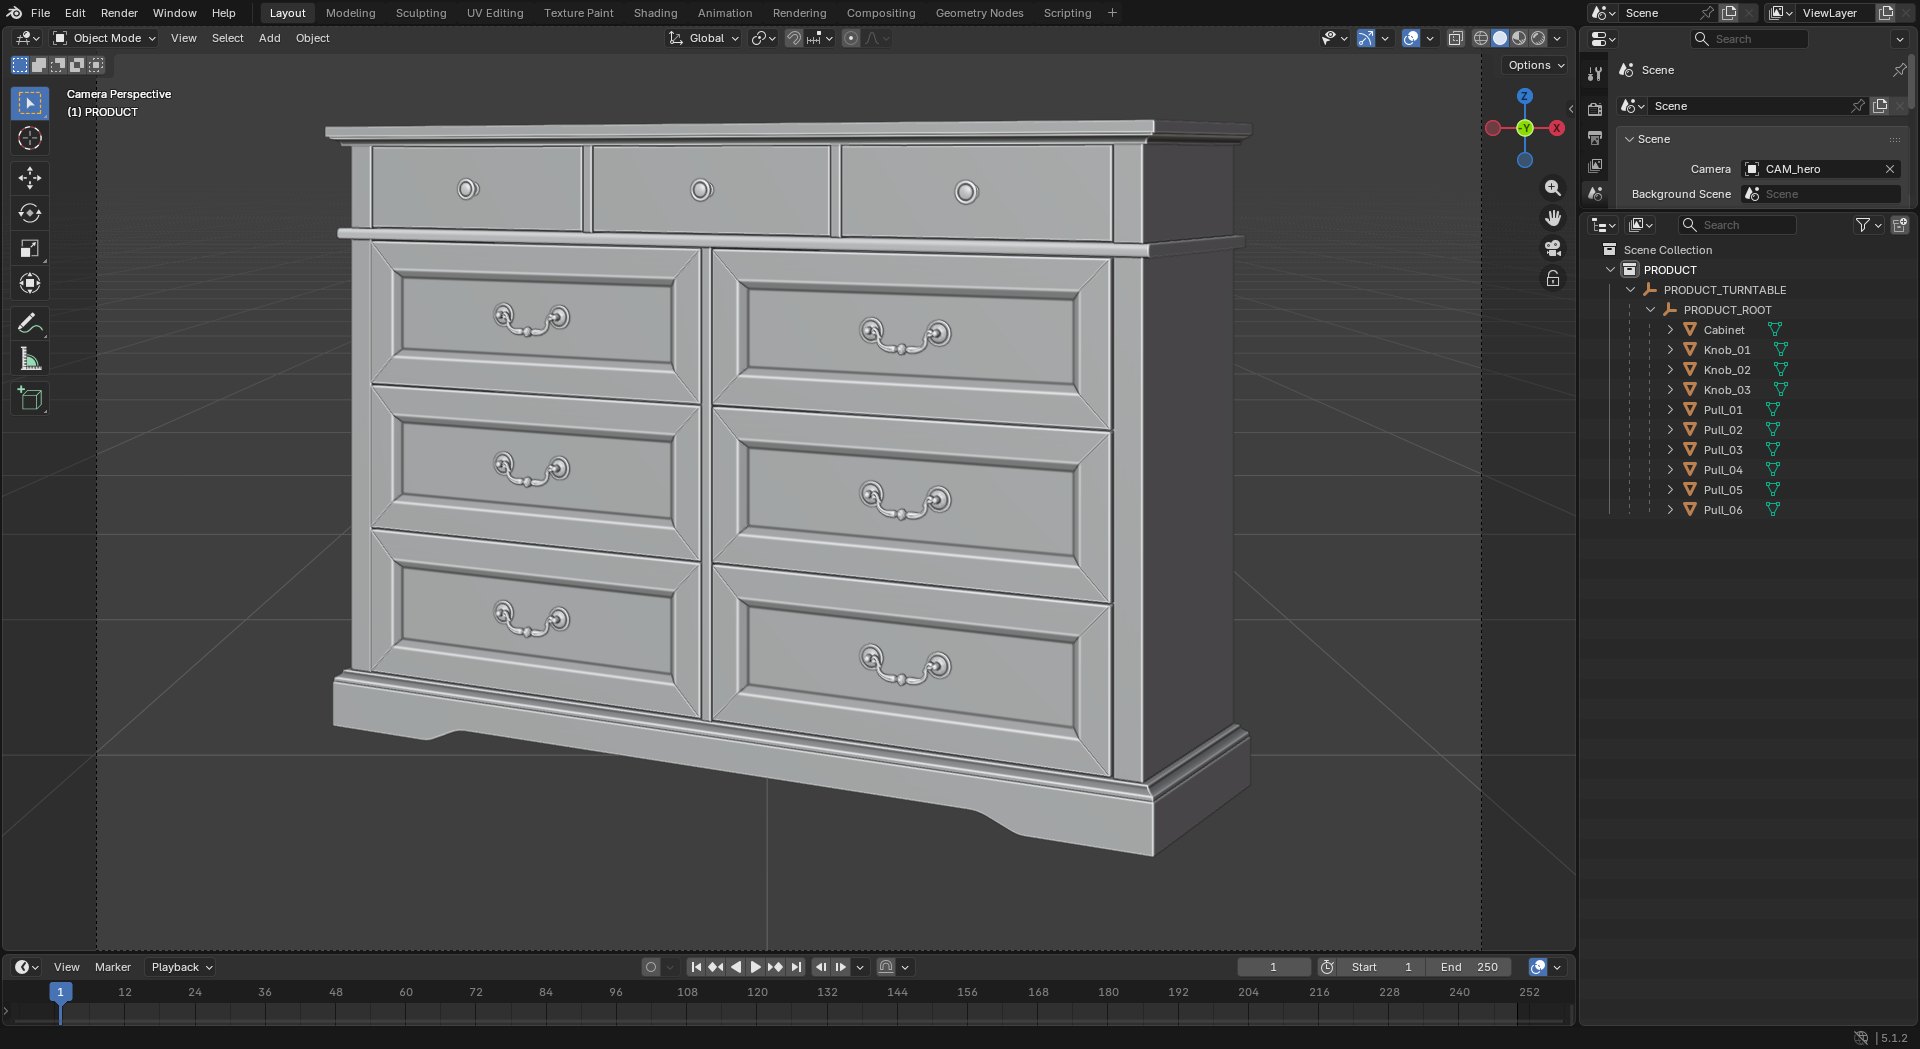
YouLoad the cabinet and strip it back to raw grey.
ClaudeIt arrived as one fused mesh, so I separated the hardware: 6 drop-handle pulls and 3 knobs are now their own parts. Everything is raw grey, with every texture removed.
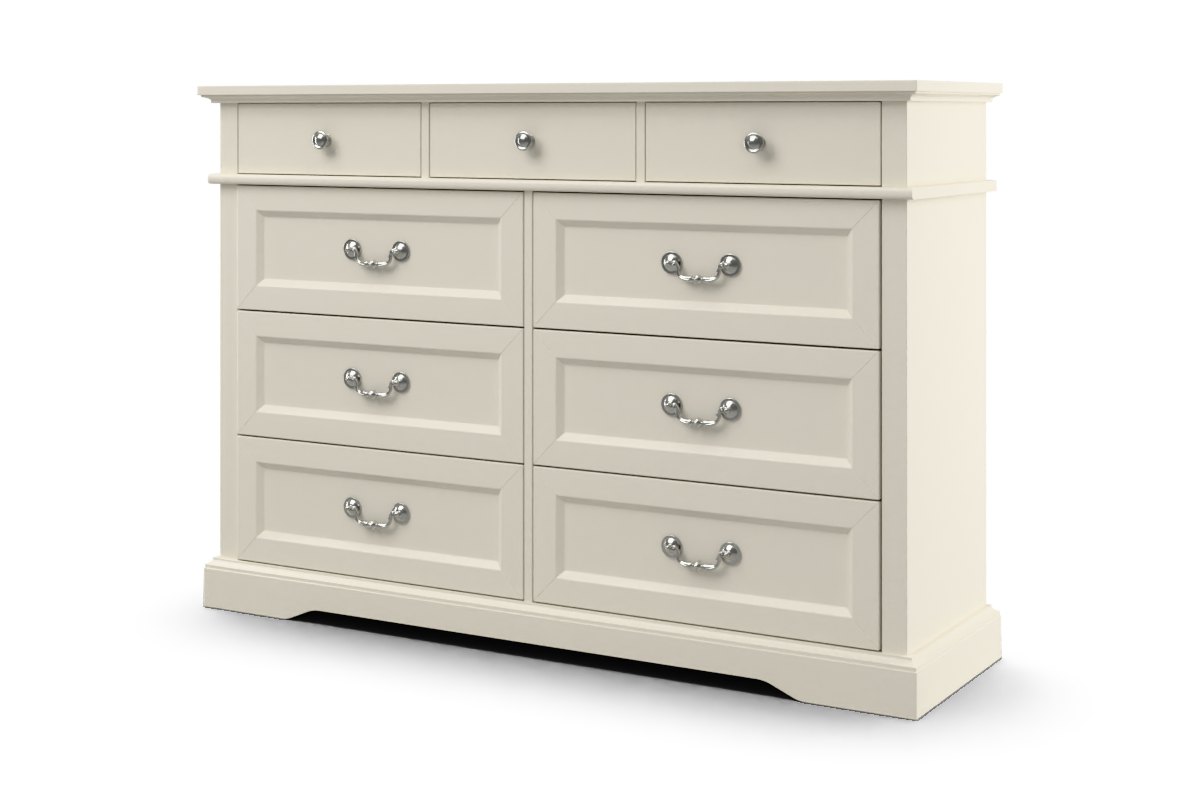
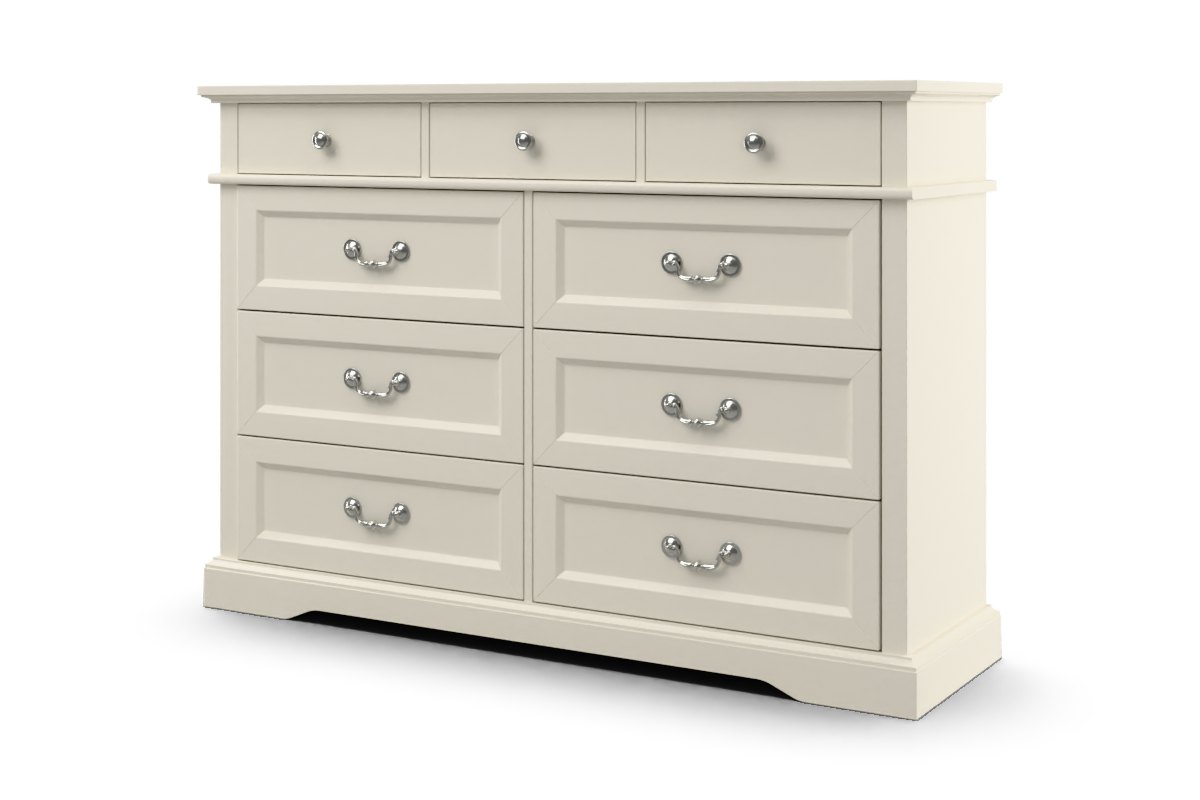
YouI don't want matte black paint. Let's do something more classic, like off-white with nickel handles.
ClaudeFirst pass: warm off-white satin paint with satin nickel handles and knobs. The drawer mouldings still read clearly against the white.
YouLooks good.
ClaudeGreat, keeping the off-white and nickel as they are.
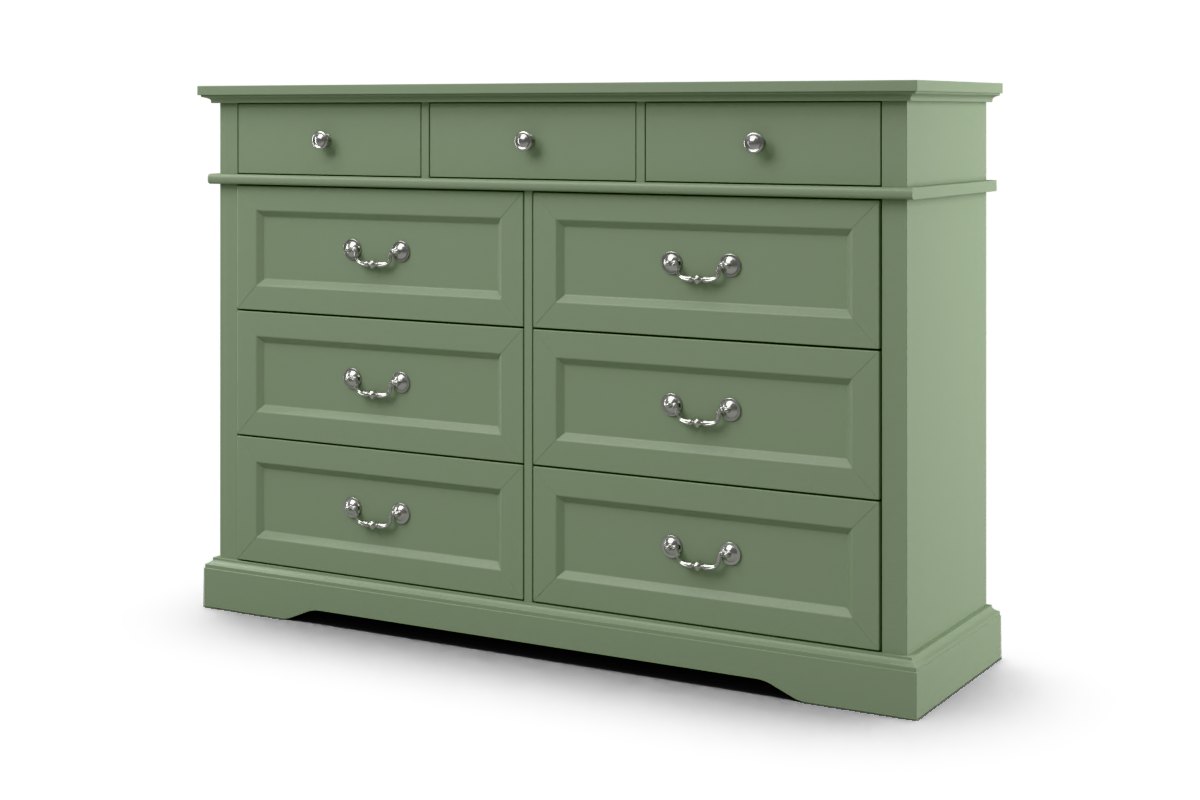
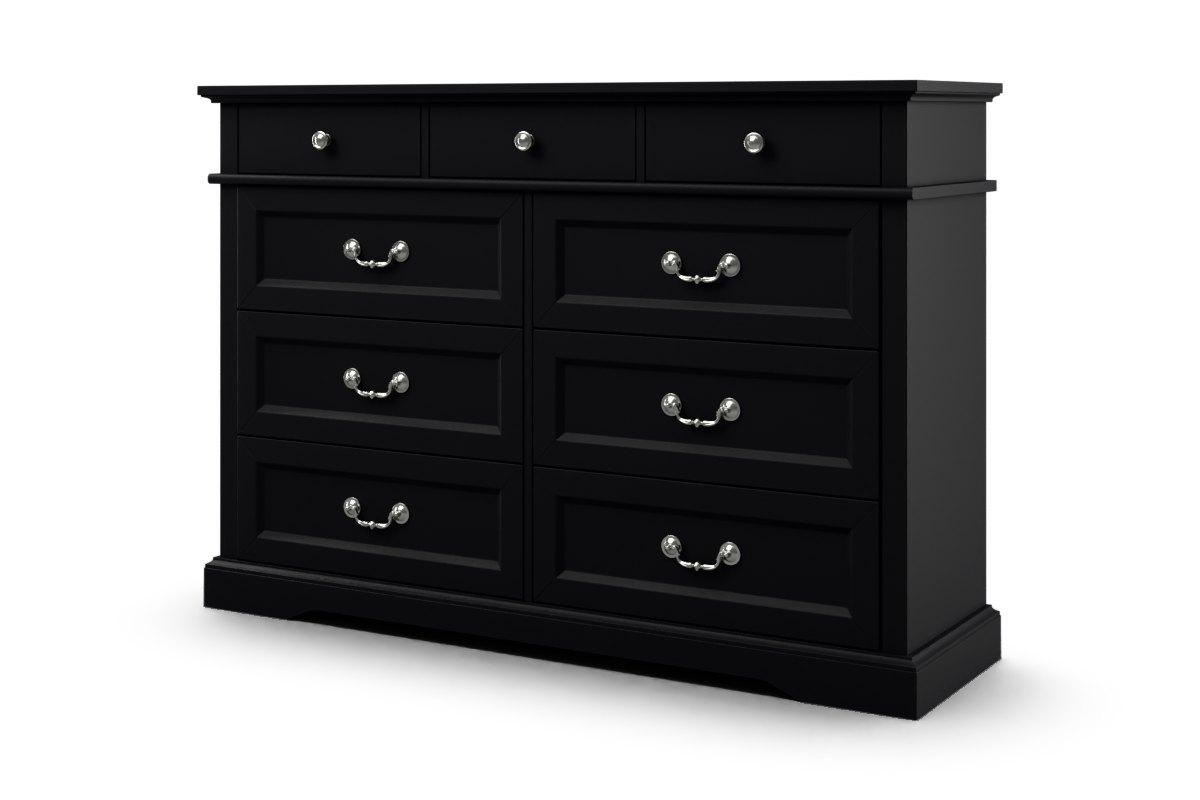
YouShow it in sage green and matte black as well.
ClaudeHere it is in three finishes: off-white, sage green and matte black. Same shot each time: only the paint changes, and the nickel handles stay.
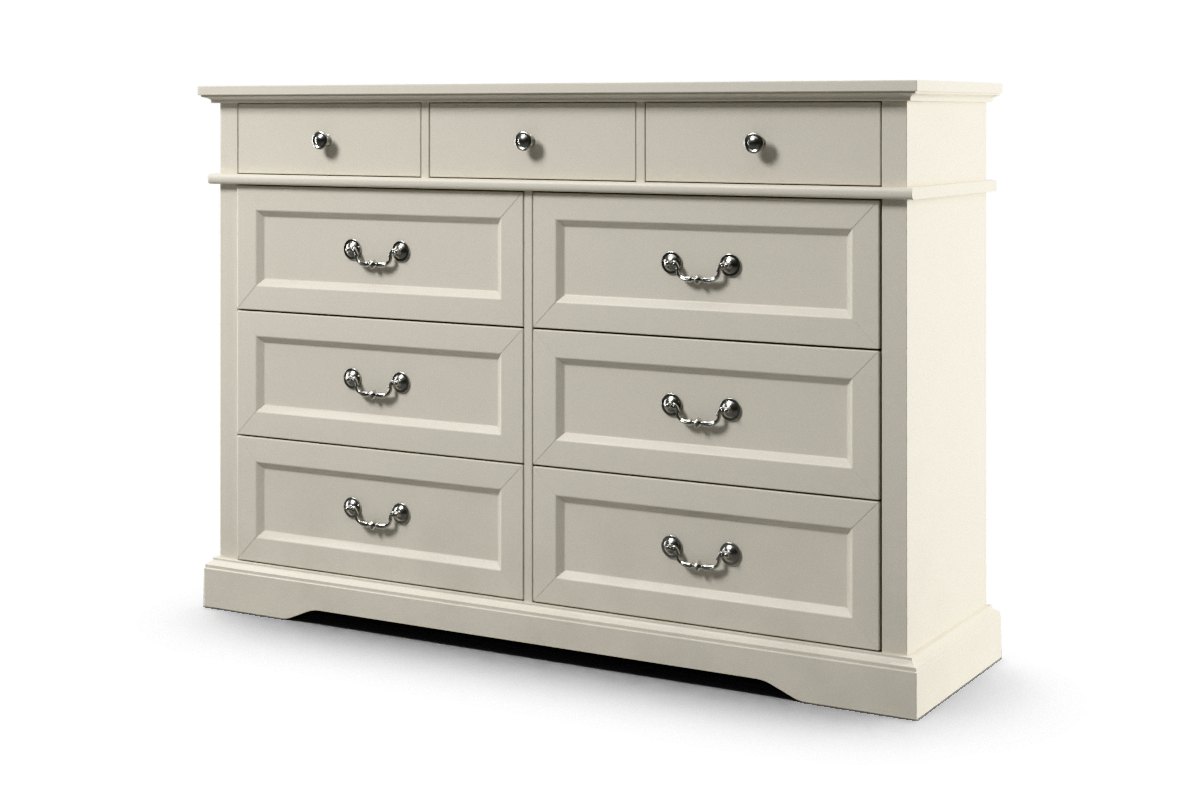
YouBrochure shot on white and a dark launch-ad version.
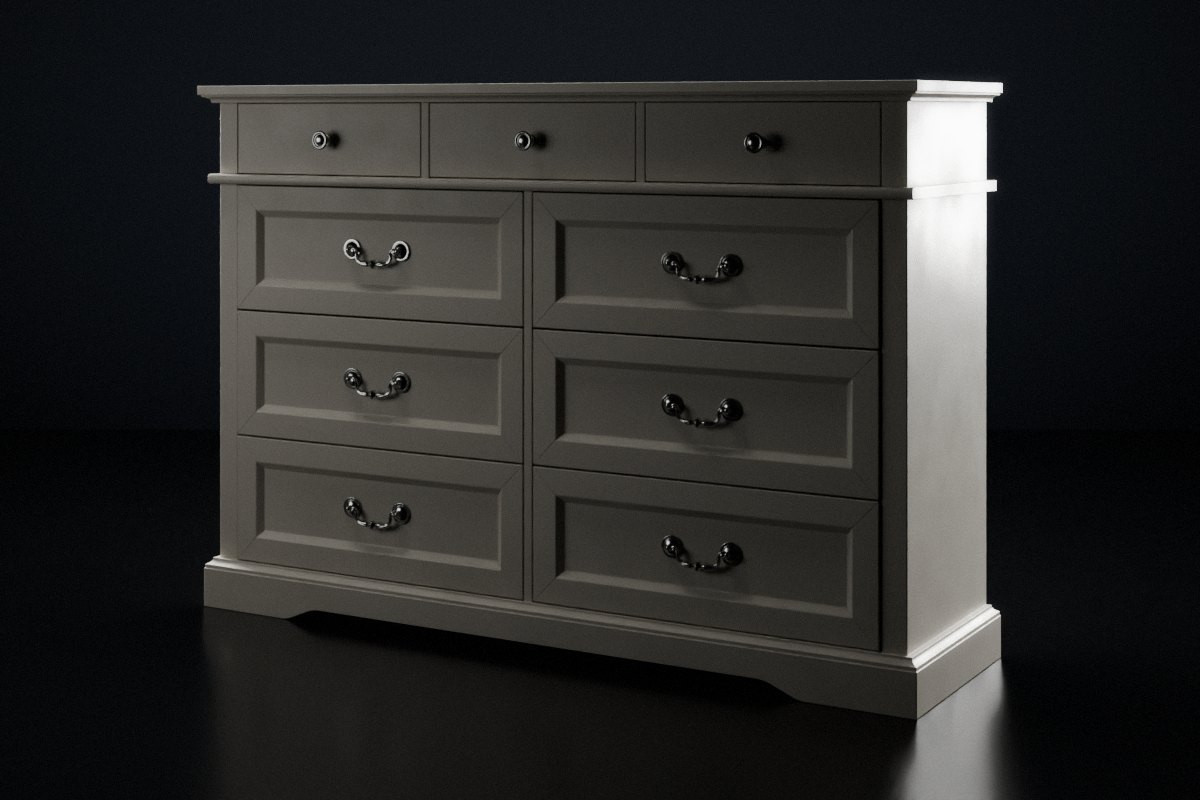
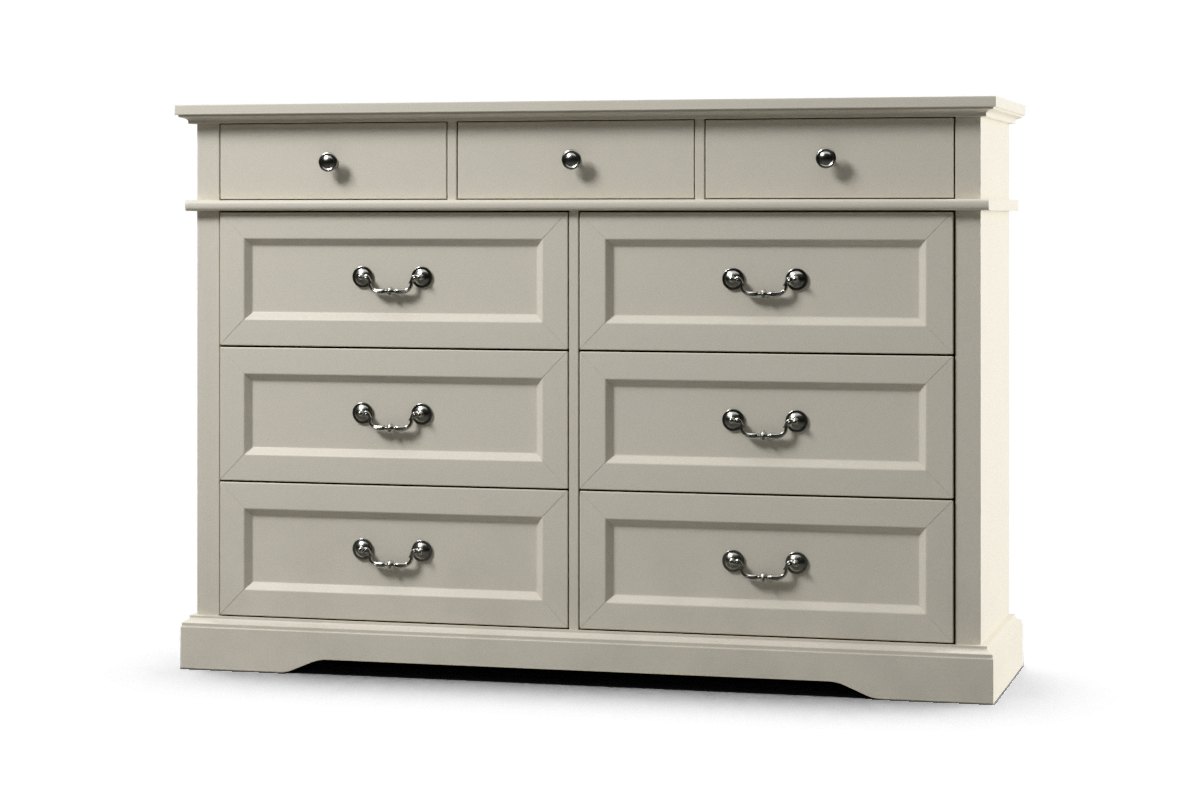
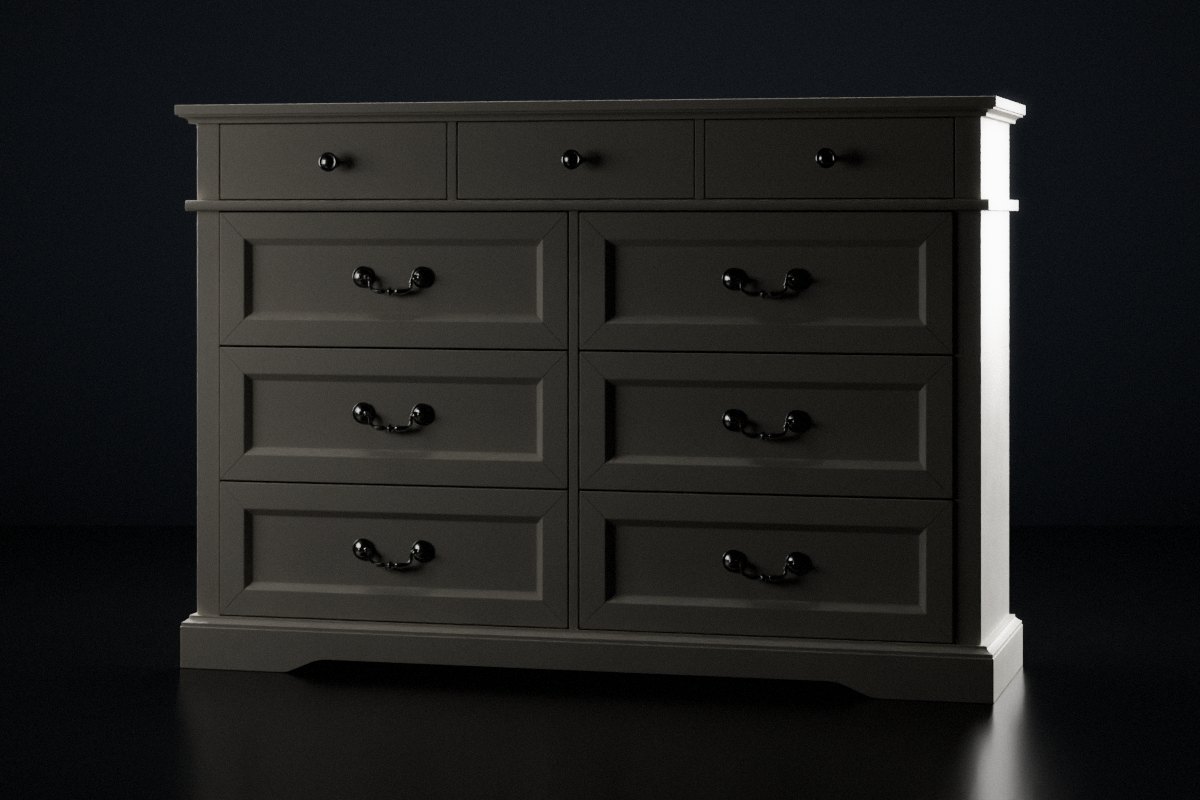
ClaudeHere are both: a clean white brochure shot and a dark launch-ad version, each from a three-quarter angle and straight on. I also gave them a realism pass: soft directional light, crisper mouldings and a light film grain.
YouAnimate it.
ClaudeMade a 6-second slow turn of the chest of drawers on the white look, swinging from a three-quarter view round to straight on, in 720p.
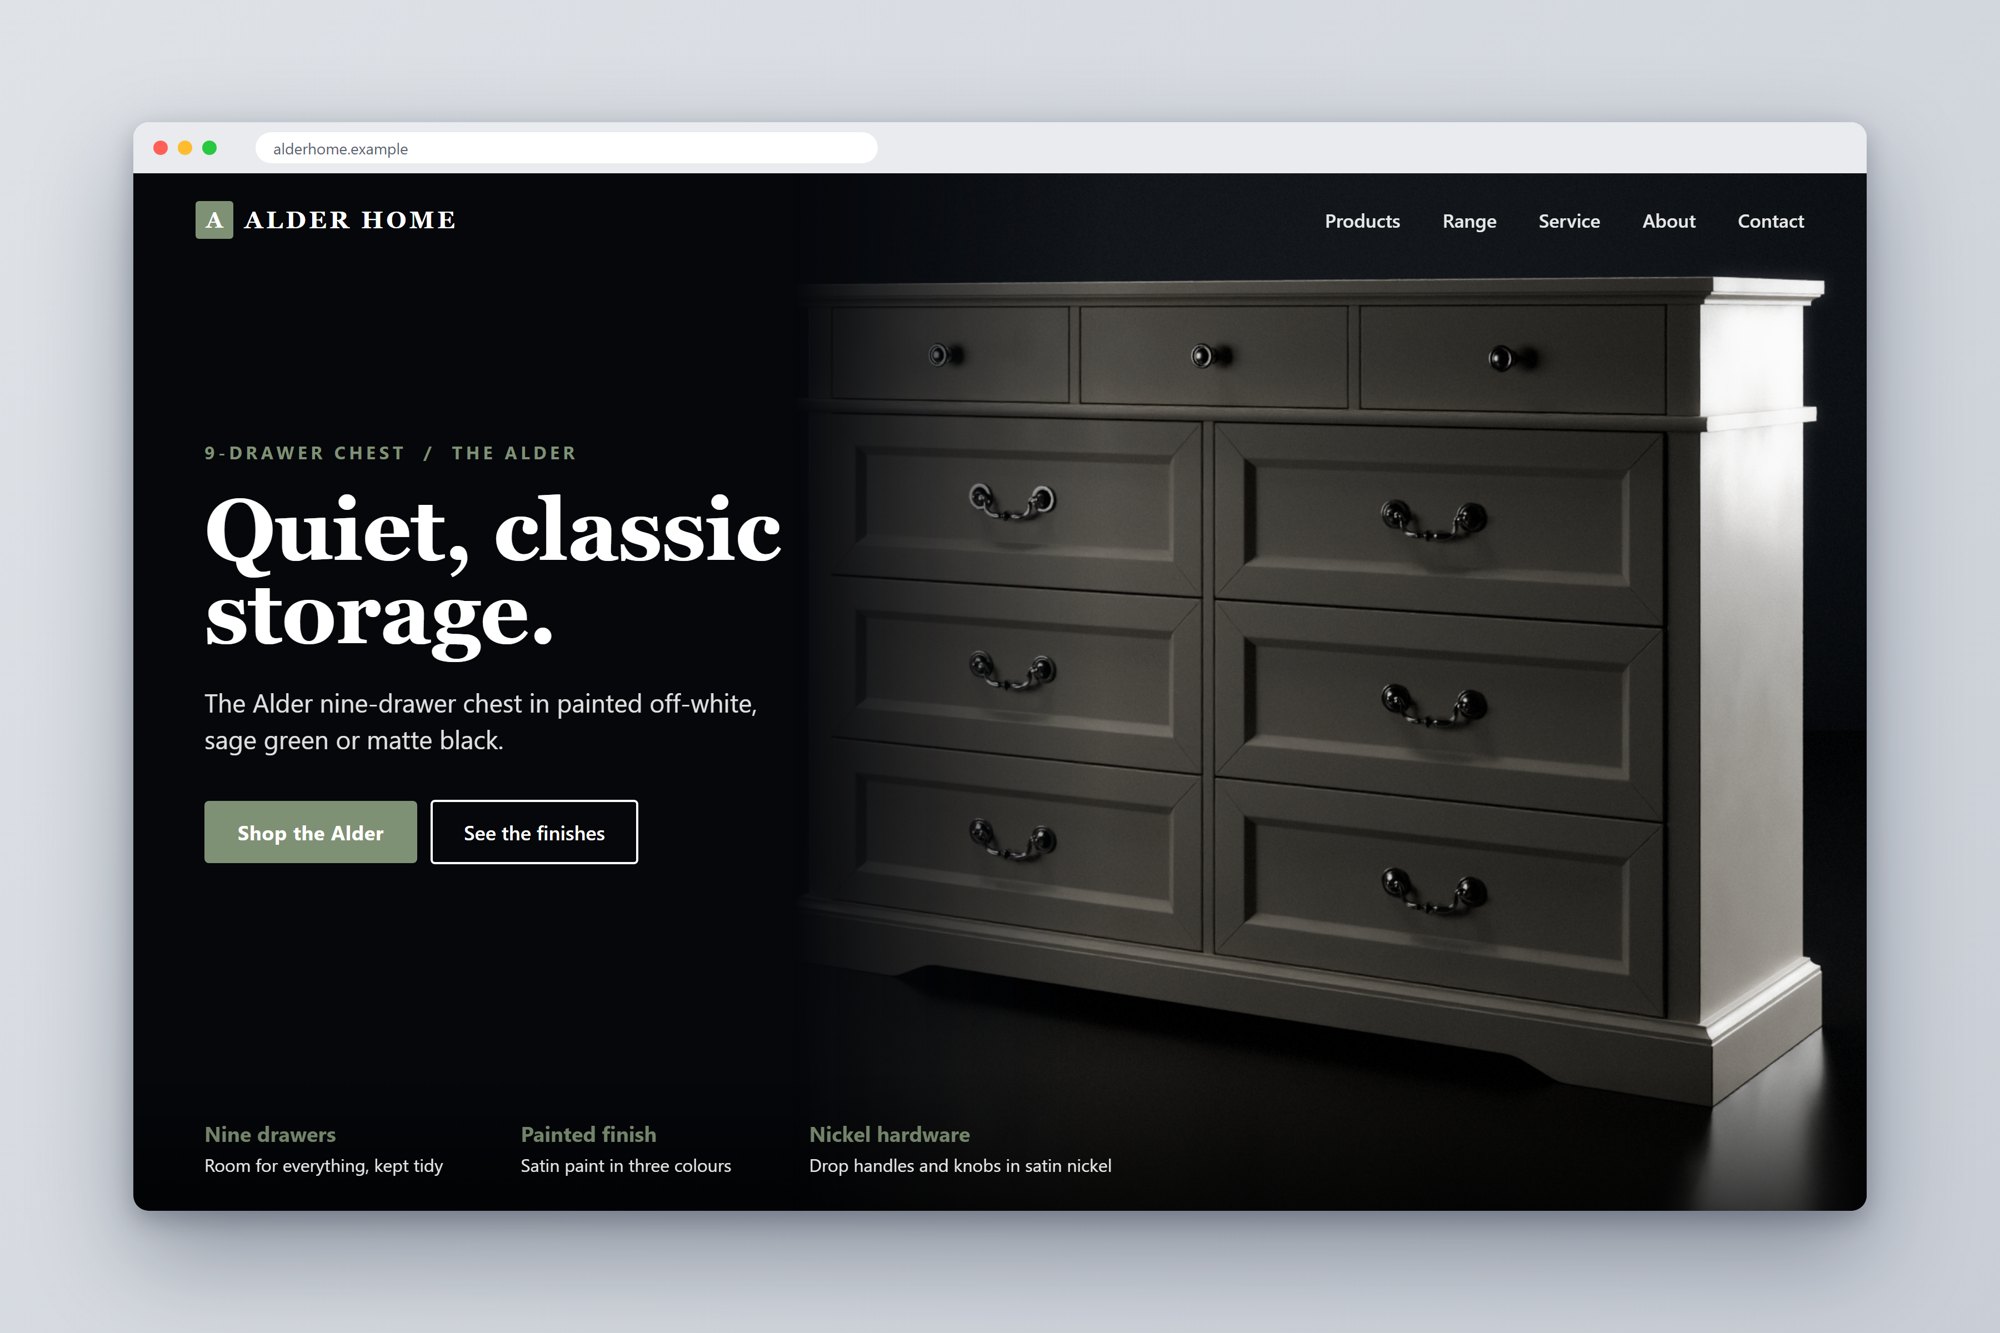
YouNow put these into website and print mock-ups.
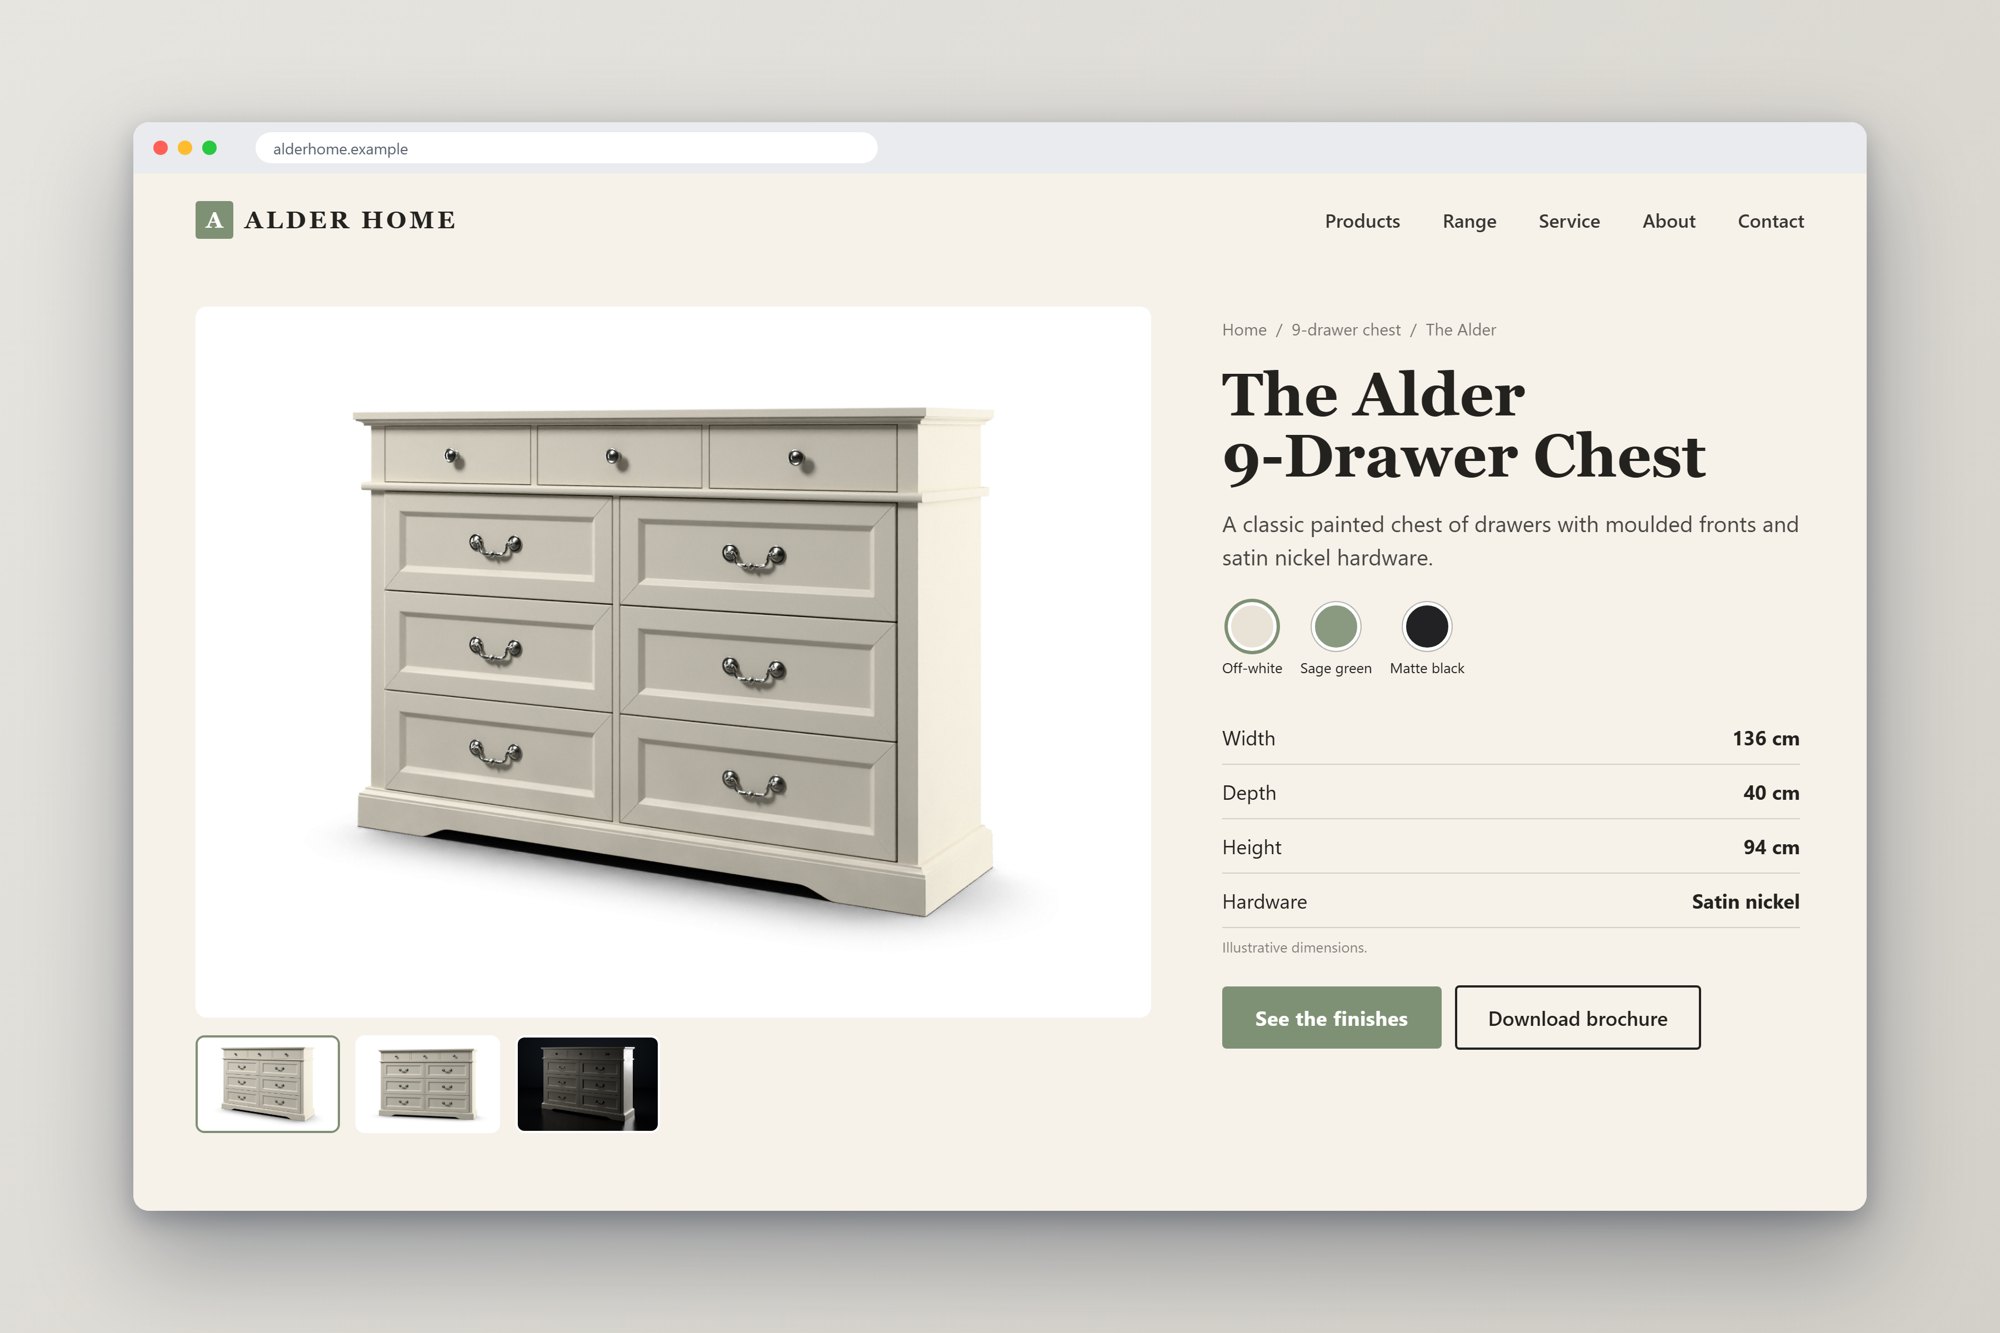
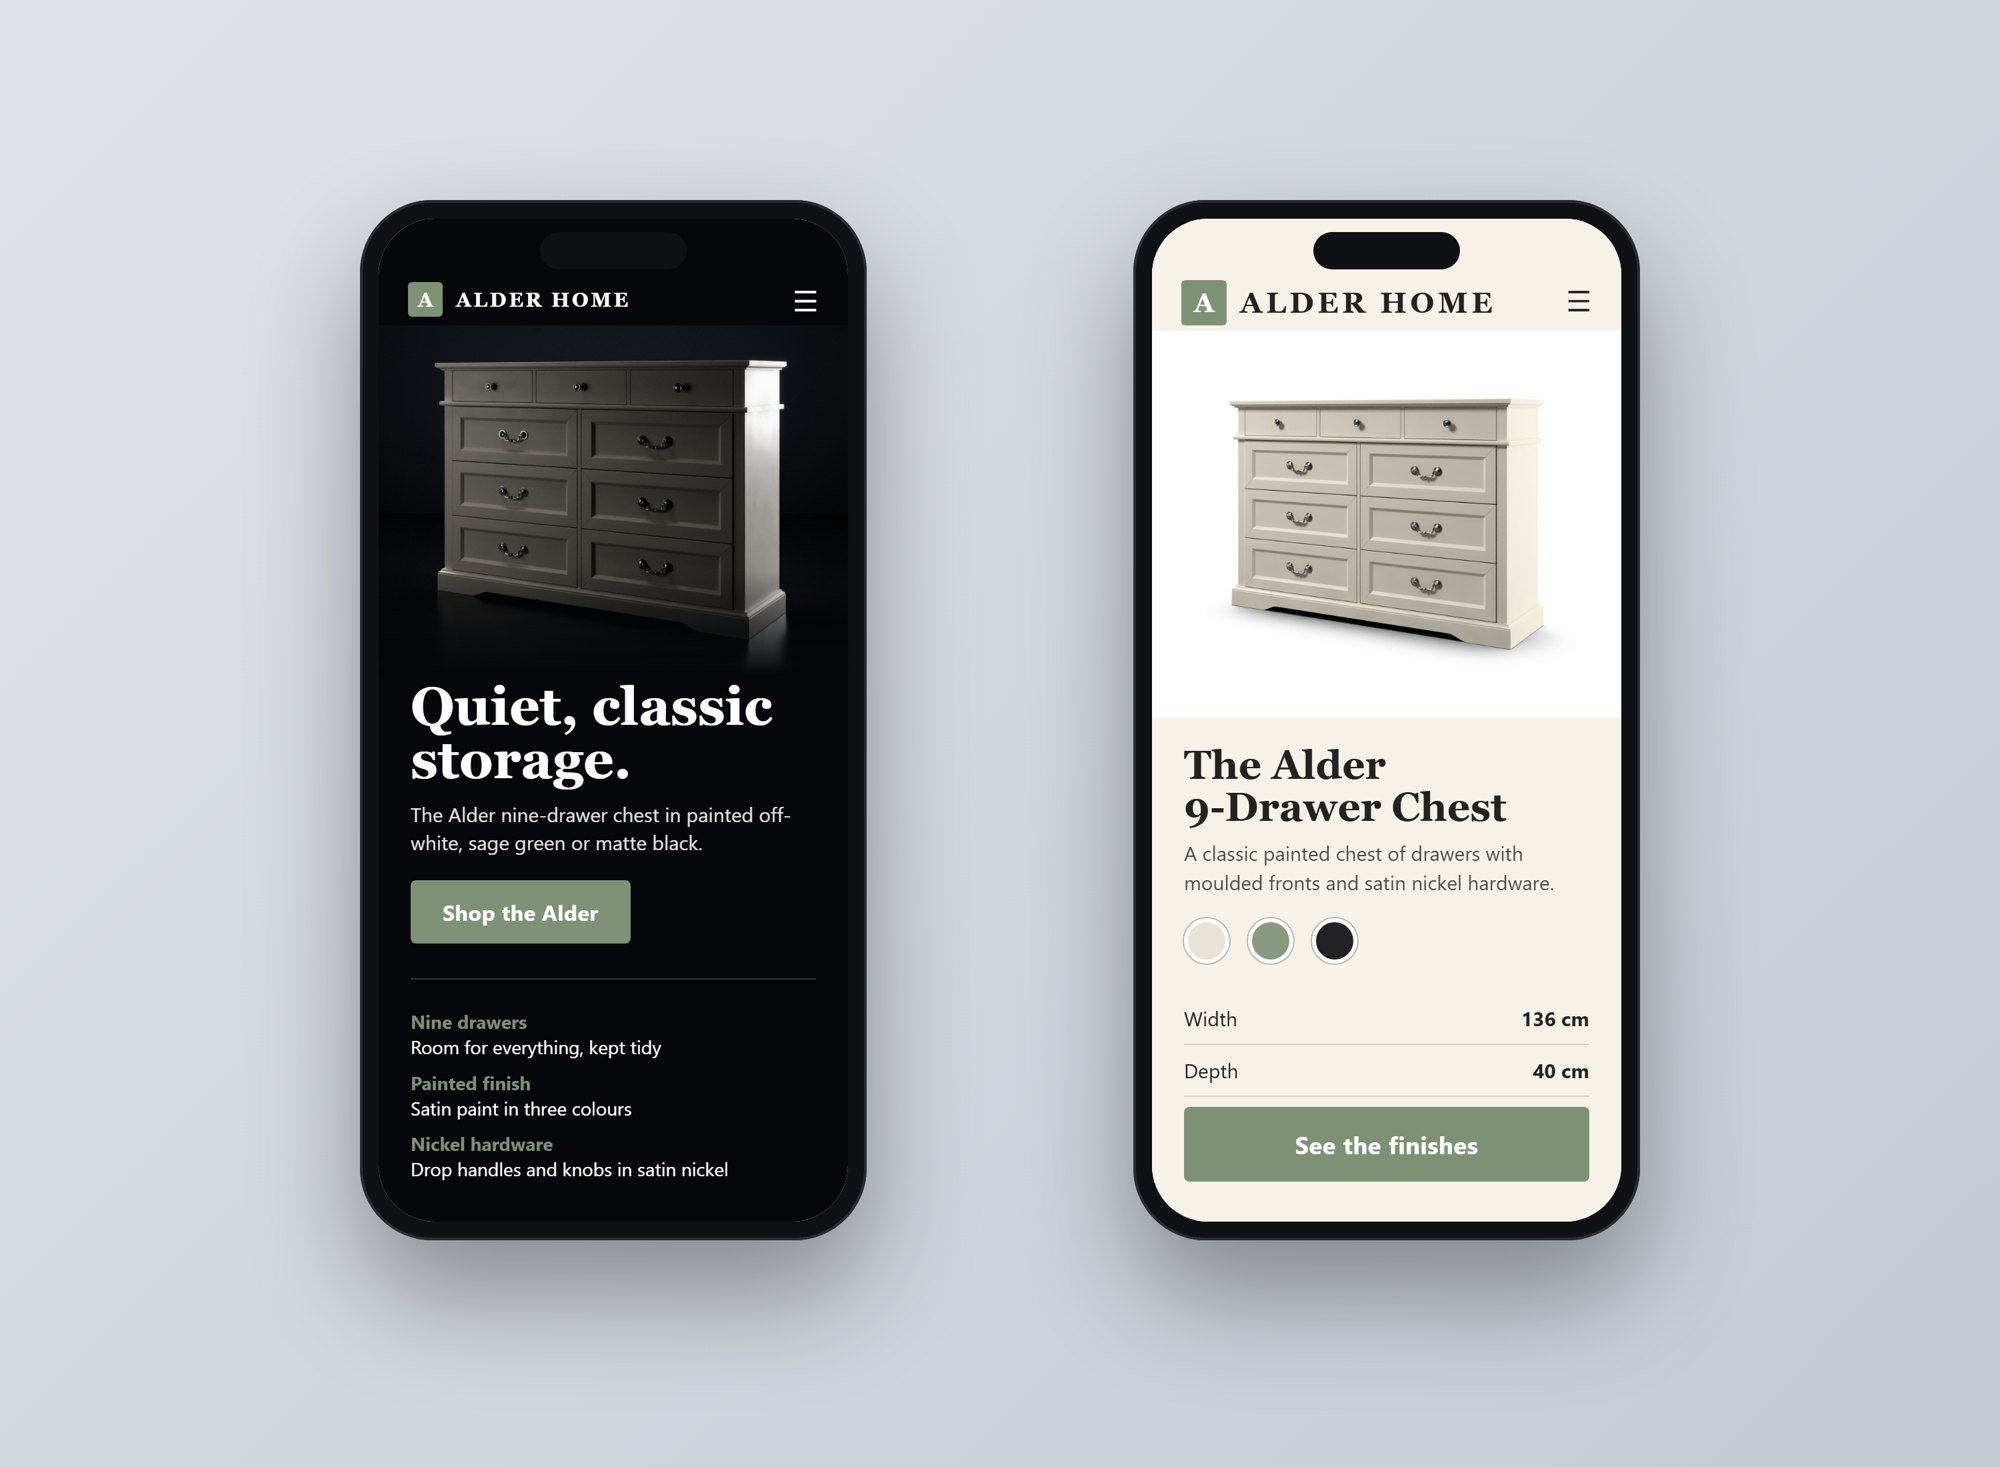
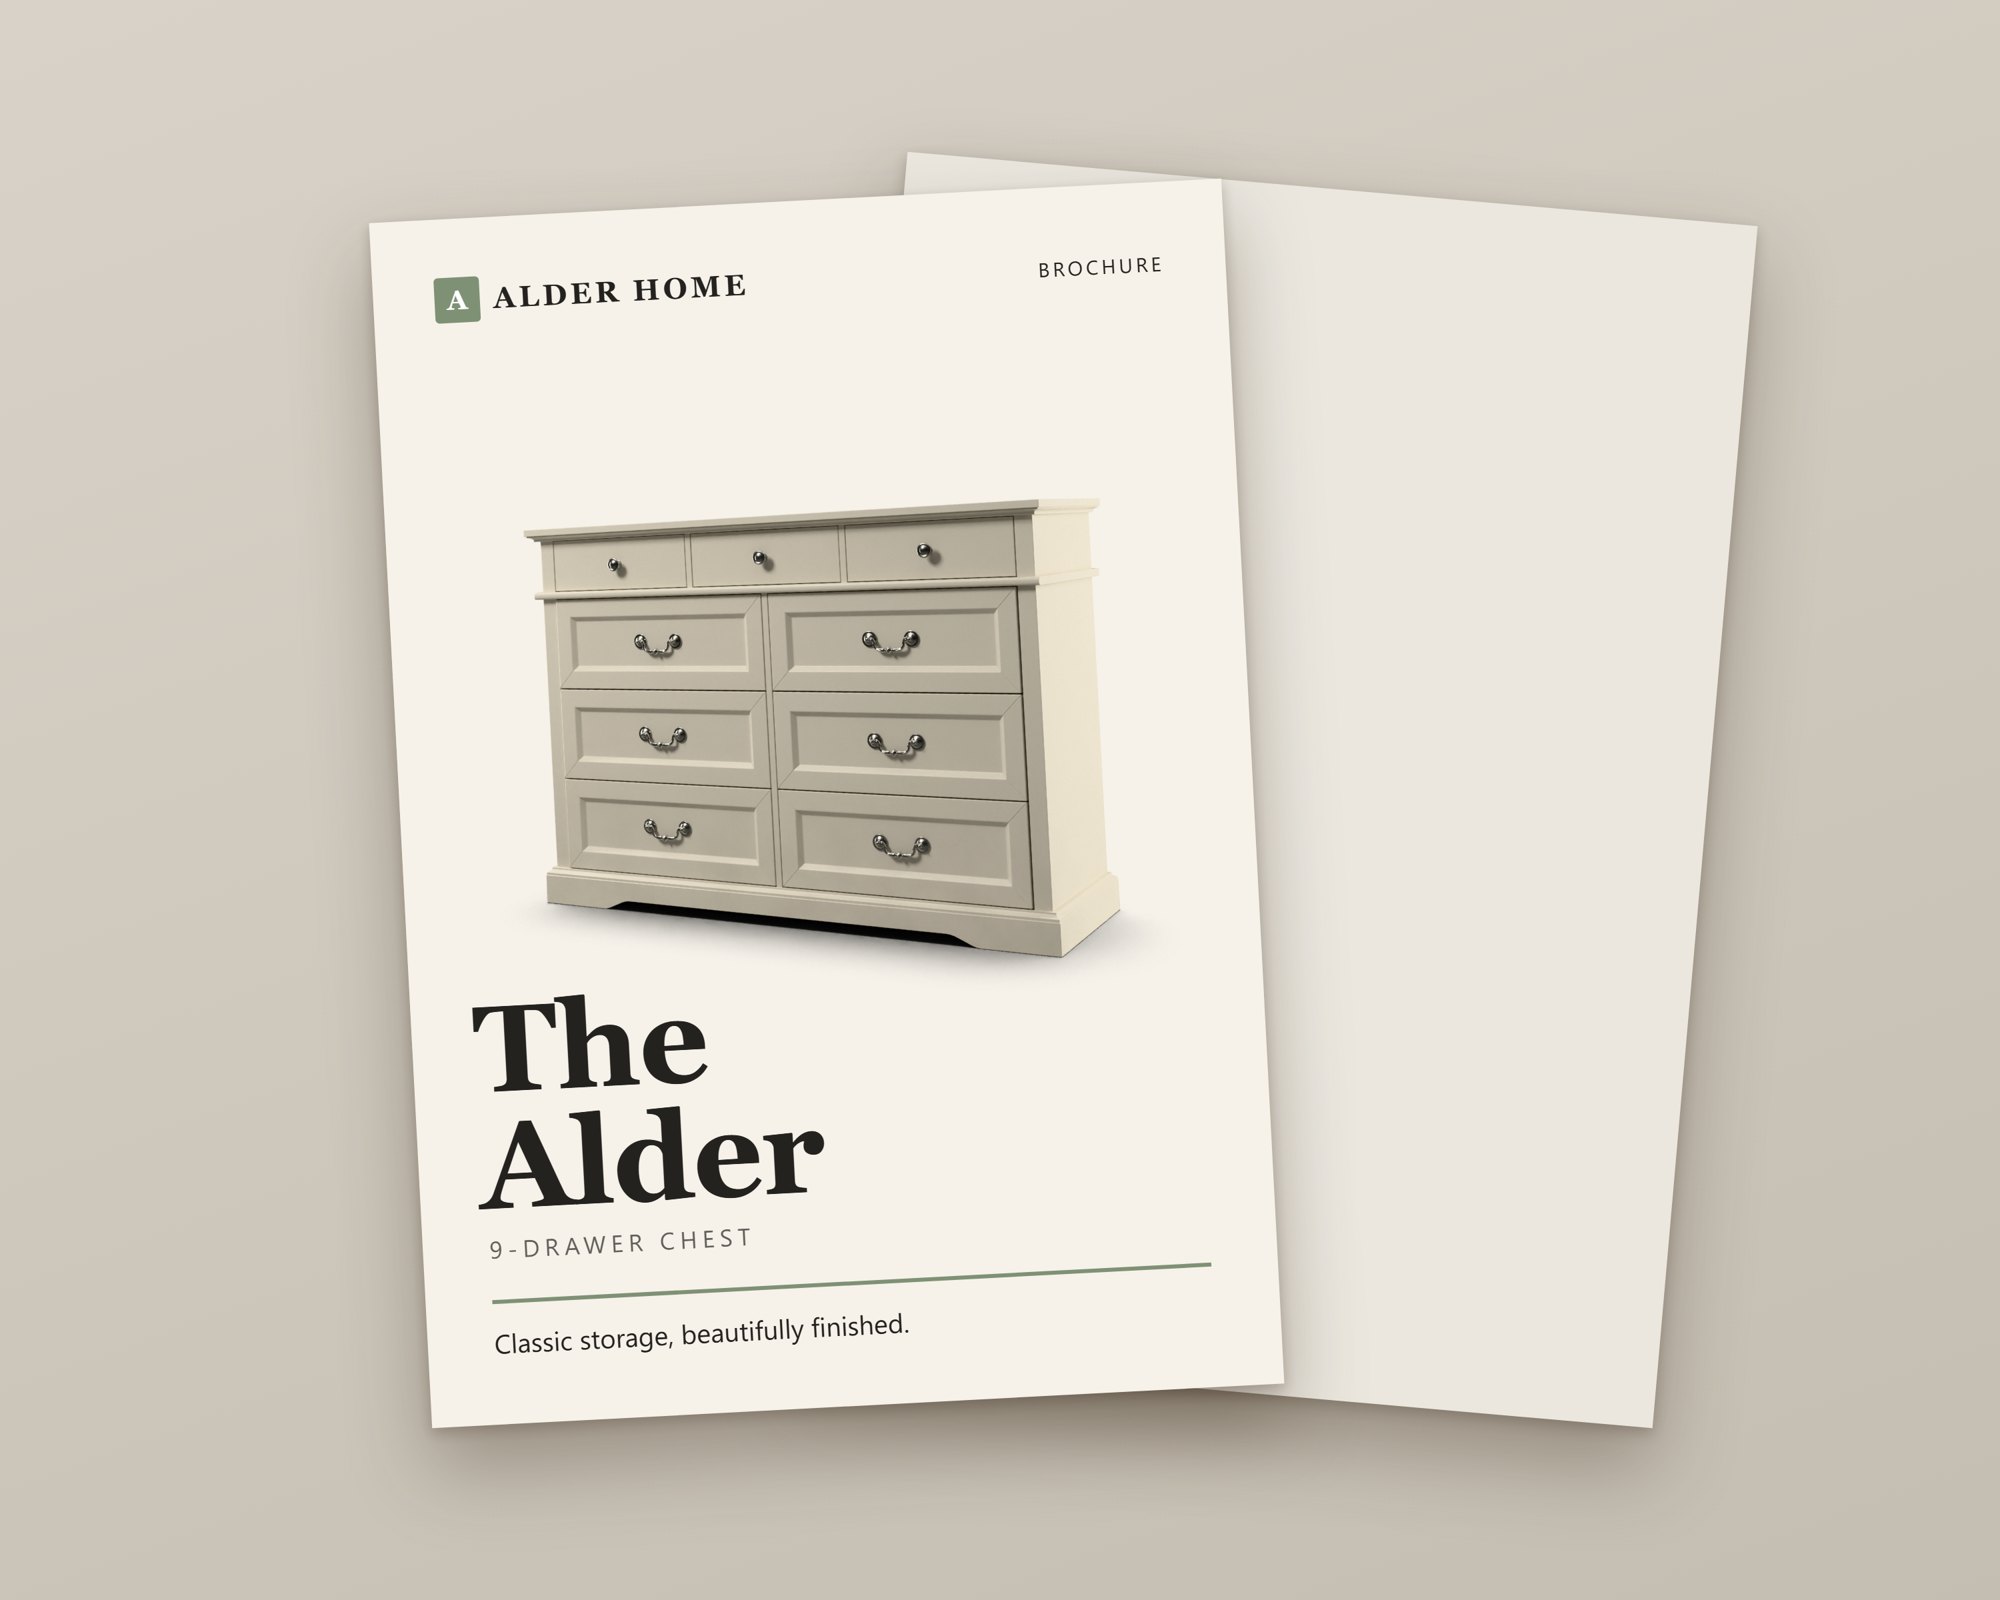
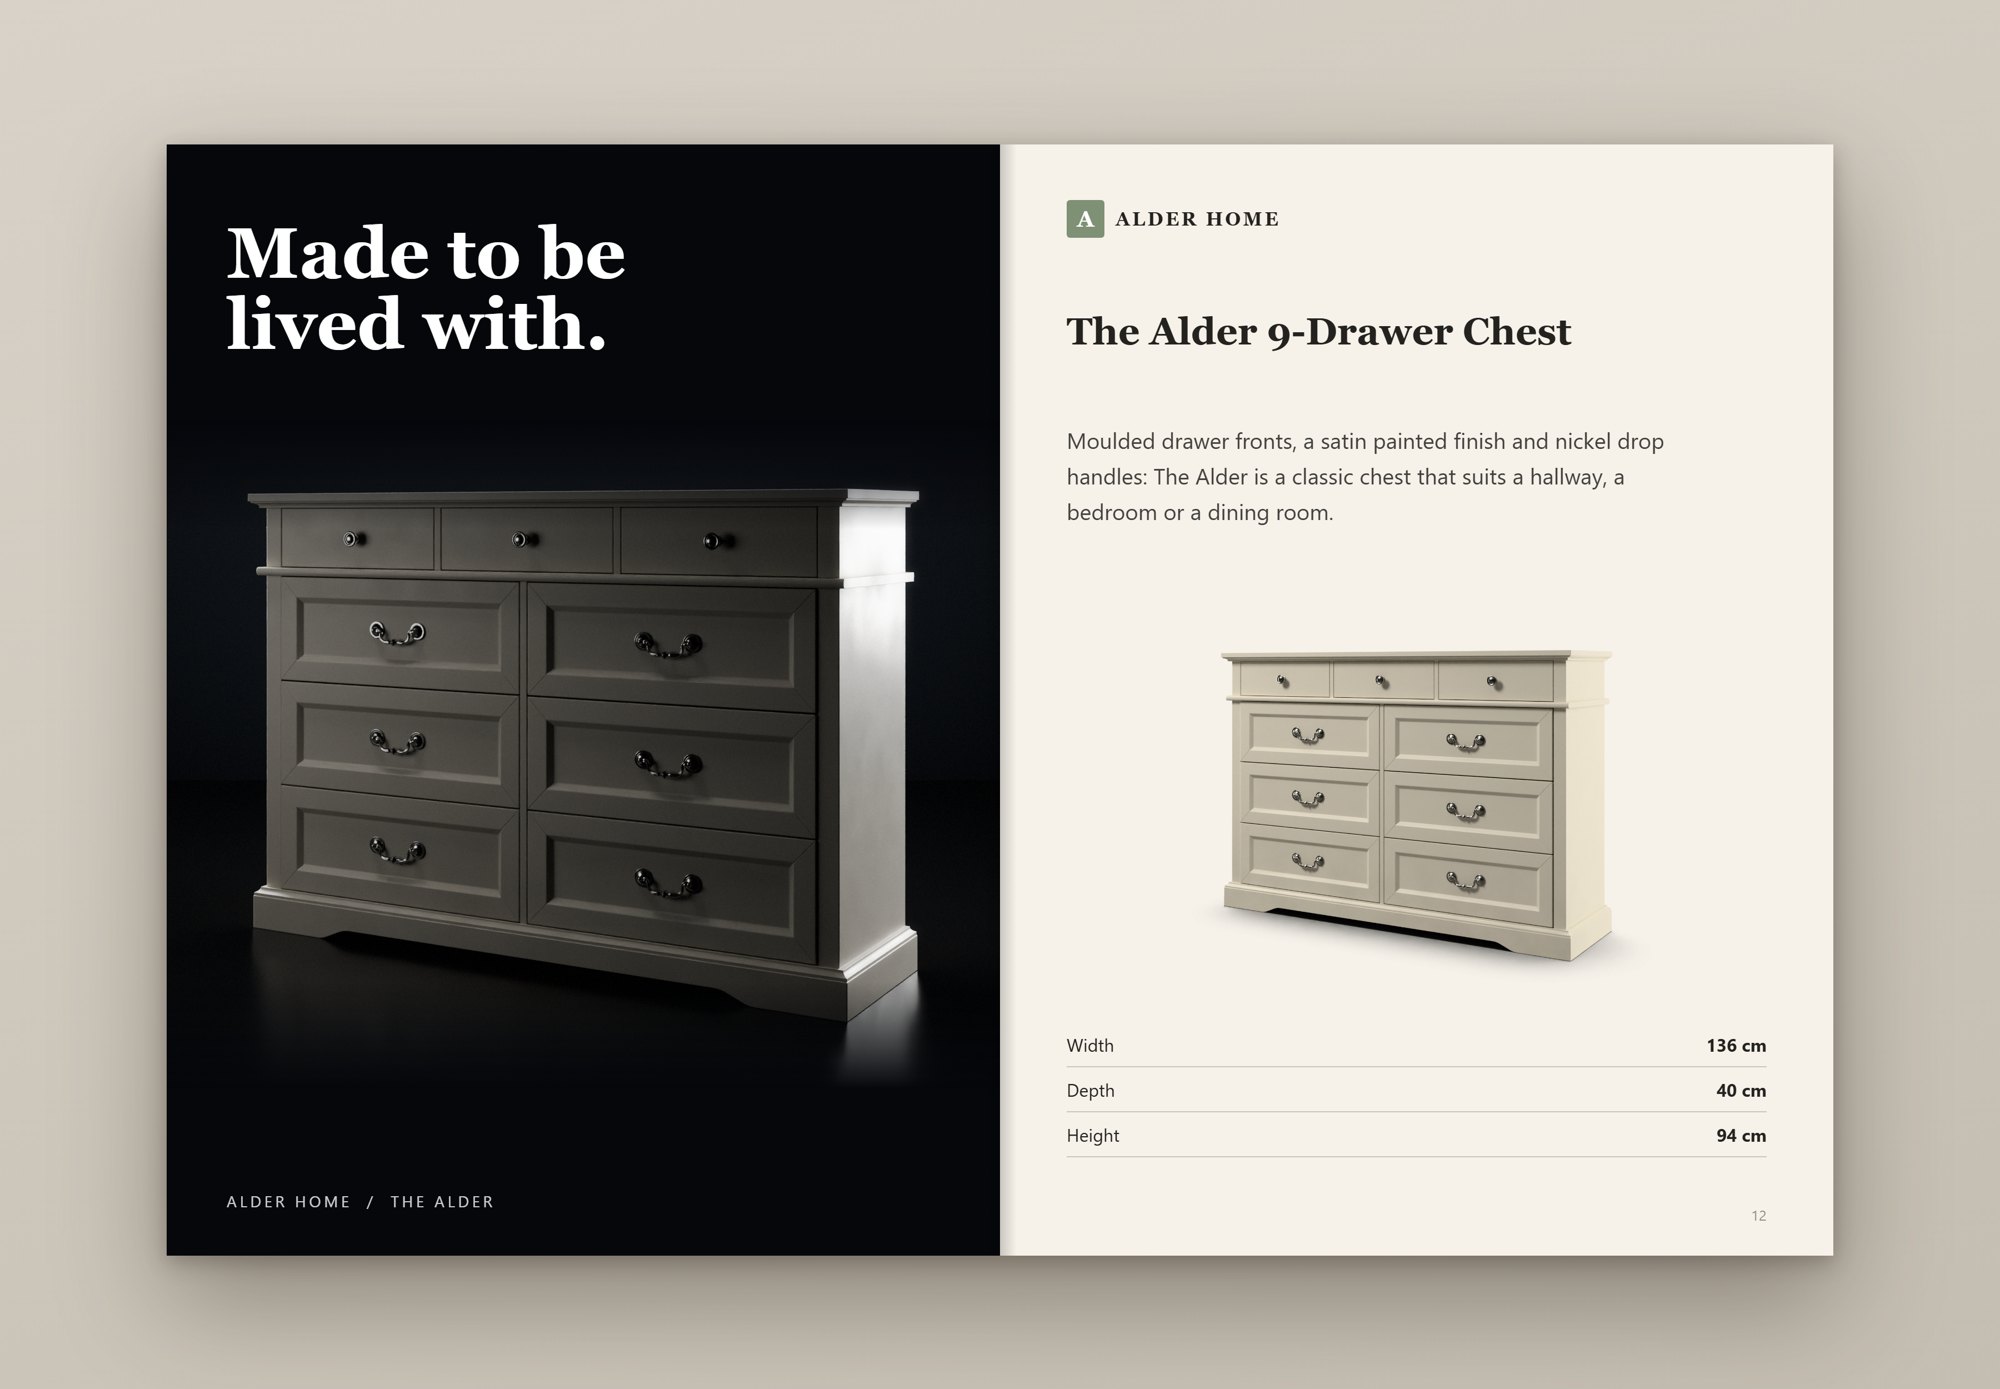
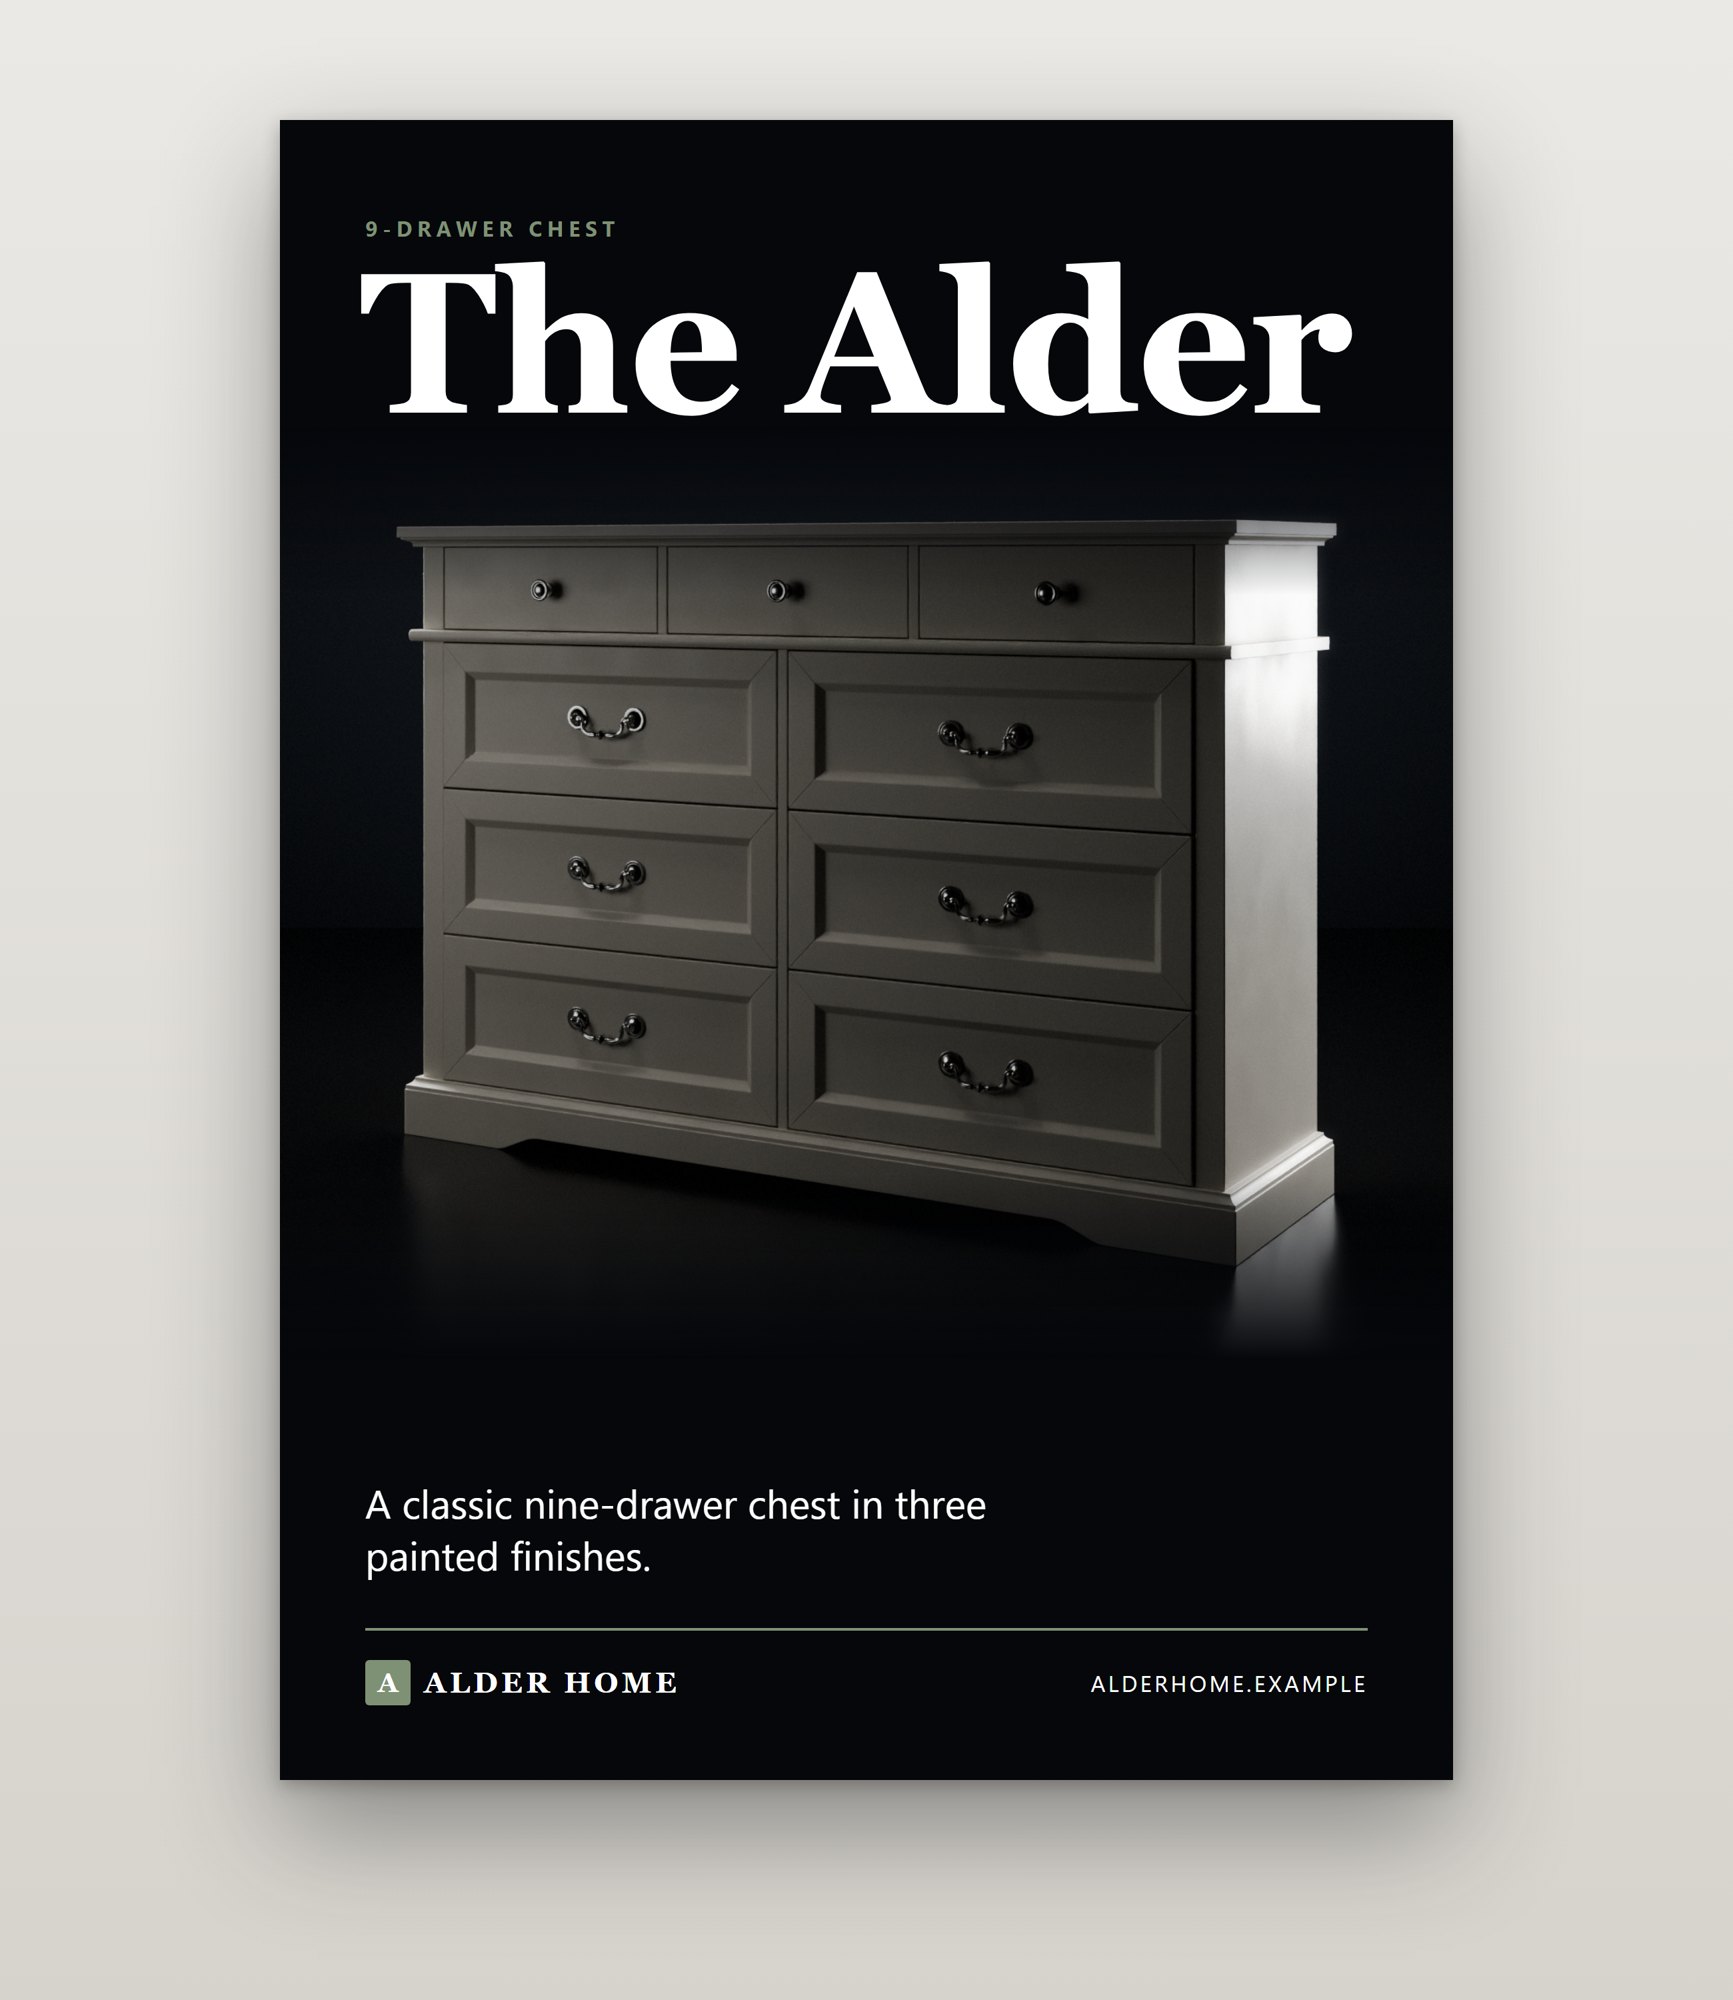
ClaudePlaced the finished renders into website and print mock-ups: a desktop hero, a product page with the three finishes and a phone view, plus a brochure cover, a two-page spread and a poster. The brand name, copy and web address are invented placeholders.
Want this for your own products? Here’s what to send us.
What happens next
What it is, where the images will be used and any deadline.
The model, brand assets and references from the list above.
From raw model to first materials and lighting, sent for your notes.
Feedback rounds like the ones above, then the final stills, clips and mock-ups.